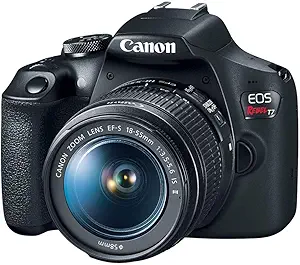
DSLR or Mirrorless Camera
A high-quality camera with manual settings for capturing detailed time-lapse scenes.
Buy OnMust-have items for capturing stunning time-lapse videos and long-term sequences.
Top 10 Things to Have for a Time-Lapse Photography Project Read more →
A high-quality camera with manual settings for capturing detailed time-lapse scenes.
Buy On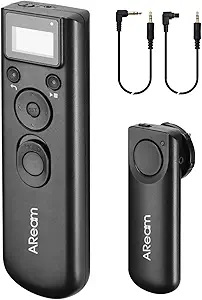
Automate shutter intervals and capture smooth time-lapse sequences effortlessly.
Buy On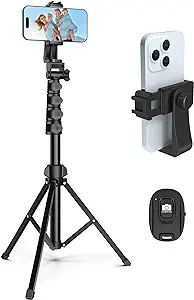
Keep your camera stable during long shoots to prevent shaky footage.
Buy On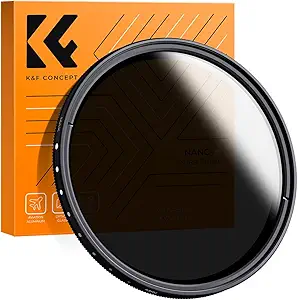
Control light exposure for smoother, more cinematic time-lapse sequences.
Buy On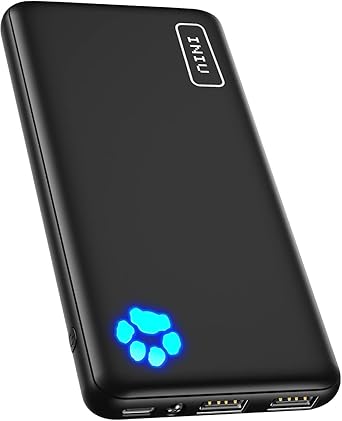
Ensure continuous power to your camera during extended time-lapse projects.
Buy On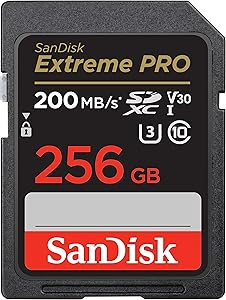
Use large-capacity, high-speed memory cards to store numerous high-resolution images.
Buy On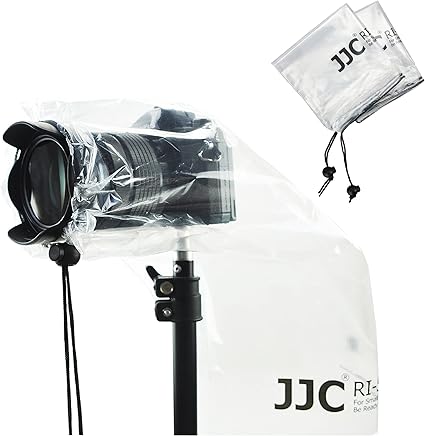
Shield your camera from rain, dust, and harsh weather conditions.
Buy On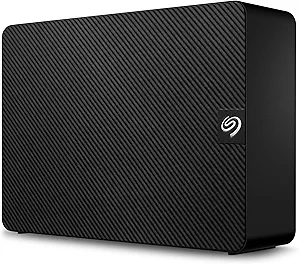
Back up your time-lapse footage for safekeeping and easy access.
Buy On
Add dynamic movement to your time-lapse shots for cinematic and engaging footage.
Buy On
Use specialized software to compile and edit your time-lapse images into videos.
Buy OnTime-lapse photography is an incredible art form that captures the passage of time in a condensed and captivating visual narrative. Whether you’re filming clouds drifting across the sky, a bustling cityscape, blooming flowers, or stars streaking through the night, a successful time-lapse project requires planning, patience, and the right equipment.
In this blog, we’ll explore the top 10 essential items you need for a successful time-lapse photography project—from camera gear to editing tools. These items are crucial not only for ensuring high-quality output but also for making your experience seamless and efficient. Let’s dive into the gear that helps photographers bring time to life.
At the heart of every time-lapse photography project is a DSLR or mirrorless camera with manual settings. While smartphones can do a decent job with apps, nothing beats the image quality and flexibility of a dedicated camera. These cameras allow for full control over exposure, ISO, shutter speed, white balance, and focus—all essential when shooting a series of stills over time.
Look for a camera that supports RAW format, as this gives you greater latitude in post-processing. Popular choices among time-lapse photographers include the Canon EOS R series, Nikon Z series, and Sony Alpha series.
#camera #dslr #timelapse #photography
An intervalometer is a must-have tool for automating the process of capturing images at regular intervals. Some modern cameras have built-in intervalometers, but if yours doesn’t, external ones are affordable and easy to use.
You can program your intervalometer to shoot at your desired frequency—for example, one frame every 10 seconds for a sunset, or one frame every 30 seconds for a long cloudscape sequence. Intervalometers reduce the need for manual input, allowing for consistent frame capture and helping avoid camera shake.
#intervalometer #automation #gear
Stability is key in time-lapse photography. Even slight movements between shots can ruin your final sequence. A sturdy tripod keeps your camera locked in position, even during long shoots in windy or uneven environments.
Choose a tripod made from carbon fiber or aluminum for maximum durability and minimum vibration. Additionally, a tripod with adjustable legs and a ball head offers flexibility in framing, especially on rough terrain.
#tripod #stability #timelapse #photography
Ever wonder how time-lapses get those dreamy, flowing effects in bright daylight? The secret is the Neutral Density (ND) filter. This filter reduces the amount of light that hits your camera’s sensor, allowing for slower shutter speeds even during daytime.
ND filters are essential when capturing motion blur in moving elements like water, crowds, or traffic. They create a more cinematic effect by adding visual smoothness that enhances the storytelling aspect of your sequence.
Variable ND filters are a great option as they allow you to adjust the light reduction without switching filters.
#ndfilter #exposure #timelapse #photography
Time-lapse photography sessions can last for hours—or even days. That’s why carrying extra batteries or a reliable power bank is critical. Camera batteries can drain quickly, especially during long shoots, cold weather, or when powering other gear.
Consider using a dummy battery paired with a USB-C or AC power bank for continuous shooting. Brands like Anker, Goal Zero, and RavPower offer high-capacity models that are compatible with camera gear.
Plan for redundancy. It’s always better to carry more power than you think you’ll need.
#powerbank #batteries #continuouspower
A time-lapse project often involves shooting hundreds to thousands of high-resolution photos. Therefore, having high-capacity, high-speed memory cards is crucial. Aim for cards with fast write speeds (UHS-II or higher) to prevent buffering delays during continuous shooting.
A 128GB or 256GB SDXC card is a good starting point for most time-lapse shoots. Always format your cards in-camera before use, and bring backups in case of failure or overflow.
Brands like SanDisk Extreme Pro, Lexar, and ProGrade are well trusted among professionals.
#memorycard #storage #highcapacity #dslr
Mother Nature can be unpredictable, and your gear needs protection from elements like rain, dust, wind, and extreme temperatures. Investing in proper weather protection gear ensures that your camera remains safe throughout extended outdoor shoots.
Use camera rain covers, lens hoods, and silica gel packs to prevent condensation. For extreme cold or heat, camera cozies or insulation wraps help maintain operational performance.
Don’t forget to check weather forecasts beforehand—but always be prepared for the unexpected.
#weatherprotection #outdoors #camera #gear
Once your shoot wraps up, you’ll be transferring gigabytes or even terabytes of data. A fast, reliable external hard drive is essential for storing and backing up your footage. Time-lapse sequences take up a lot of space, especially if you’re shooting in RAW format.
SSD drives are recommended for faster file transfer and more durability than traditional HDDs. Some excellent choices include Samsung T7, SanDisk Extreme Portable SSD, and LaCie Rugged SSD.
Always backup your work to at least two drives for redundancy. Losing data after days of shooting can be devastating.
#externaldrive #backup #storage #photography
To take your time-lapse videos to the next level, add movement with a motion control slider. These sliders allow your camera to move smoothly on a track during the shoot, adding cinematic motion to your sequence.
You can create pan, tilt, or linear motion effects that bring dynamic storytelling into your footage. Some sliders also integrate with your intervalometer, synchronizing each movement with every shot.
Brands like Rhino, Edelkrone, Syrp, and iFootage offer feature-rich motorized sliders suitable for all skill levels.
#motionslider #movement #cinematic #timelapse
After capturing your images, the magic truly happens in post-production. A reliable time-lapse editing software allows you to compile, stabilize, color-correct, and render your images into beautiful video clips.
Popular software options include:
LRTimelapse (a professional favorite for Lightroom integration)
Adobe Premiere Pro or Final Cut Pro for advanced editing
Adobe After Effects for adding visual effects and motion blur
DaVinci Resolve for color grading
You’ll need to process your RAW images, apply deflicker techniques, and export in the correct resolution and frame rate for your platform (e.g., 4K at 24fps for cinematic quality).
#editingsoftware #postproduction #video #photography
Scout your location and determine your subject, whether it's a sunset, traffic, stars, or people. Use leading lines and depth to make the frame visually interesting.
Use manual mode to lock in settings. Choose low ISO, fixed white balance, and narrow aperture (like f/8 or f/11) to ensure consistency.
This allows for greater control in post-processing, especially when adjusting for white balance, shadows, and highlights.
Determine how long your scene will last and calculate how many frames you need. For a 30-second video at 24fps, you need 720 frames. With 10-second intervals, your shoot would last 2 hours.
Even with locked settings, slight changes in light can cause flicker. Software like LRTimelapse or plugins in After Effects can smooth out these inconsistencies.
Time-lapse photography is a rewarding journey that blends technical precision with artistic vision. With the right tools, preparation, and patience, you can create mesmerizing footage that captures the world in motion. From a sturdy tripod and DSLR to motion sliders and editing software, each item in your kit plays a critical role.
Investing in the essentials listed above ensures your workflow is smooth, your gear is protected, and your final product stands out with cinematic beauty.
Whether you're a beginner experimenting with your first sunset shot or a seasoned creator capturing auroras in the Arctic, the foundation of every great time-lapse project starts with the right gear.
#camera
#dslr
#timelapse
#photography
#intervalometer
#automation
#gear
#tripod
#stability
#ndfilter
#exposure
#powerbank
#batteries
#continuouspower
#memorycard
#storage
#highcapacity
#weatherprotection
#outdoors
#backup
#externaldrive
#motionslider
#movement
#cinematic
#editingsoftware
#postproduction
#video