Canvas
Choose a high-quality canvas to provide a sturdy foundation for your artwork.
Buy OnMust-Have Supplies for Crafting Your Own Stunning Wall Art at Home
Top 10 Things to Have for Creating Your Own Wall Art Read more →
Choose a high-quality canvas to provide a sturdy foundation for your artwork.
Buy On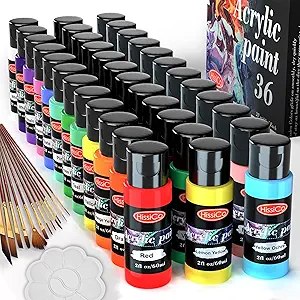
Pick your preferred paint type to suit your artistic style, such as acrylic or oil.
Buy On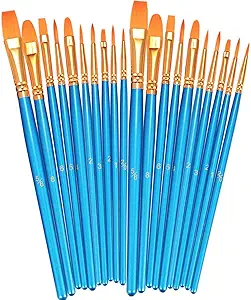
A selection of brushes in various sizes to suit different painting techniques.
Buy On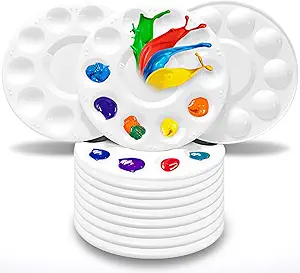
A palette for mixing and experimenting with different paint colors.
Buy On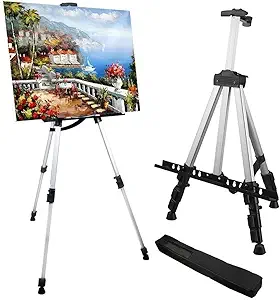
An easel provides a comfortable and stable surface for your artwork.
Buy On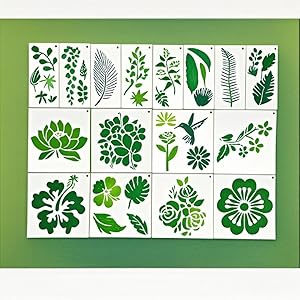
Stencils can help you achieve intricate designs and consistent patterns.
Buy On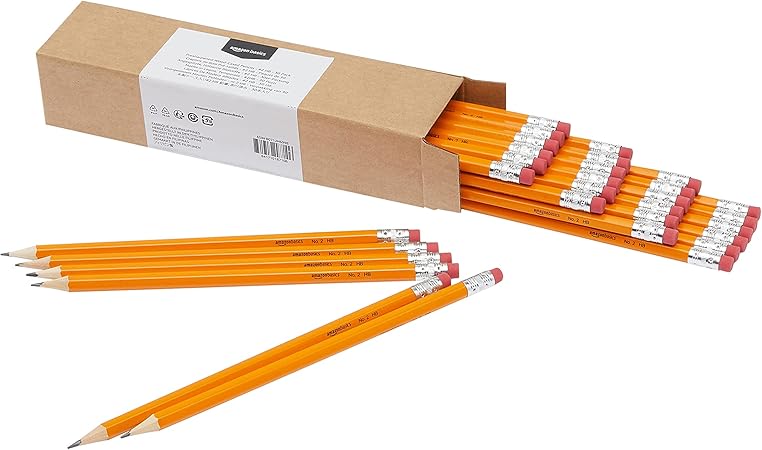
Use pencils for sketching your initial design and erasers for making adjustments.
Buy On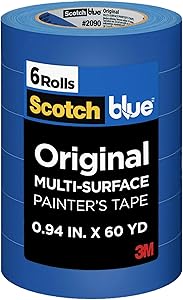
Painter's tape is perfect for creating sharp lines or masking areas you don’t want to paint.
Buy On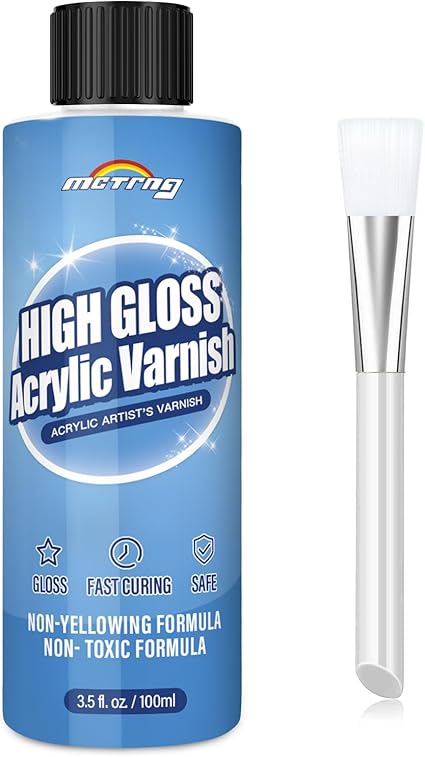
A varnish or sealer can be used to protect your finished artwork and enhance its finish.
Buy On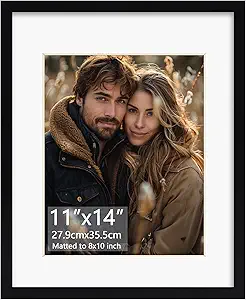
Frames or hanging hardware will help display your artwork beautifully on your wall.
Buy OnCreating your own wall art is one of the most rewarding ways to express creativity while transforming your living space into a reflection of your personality. Whether you're a seasoned painter or just exploring the world of DIY art, having the right tools can make the process smoother, more enjoyable, and far more successful. In this blog post, we'll walk you through the top 10 things you must have for crafting stunning wall art, whether you're creating abstract pieces, personalized name art, botanical prints, or custom murals.
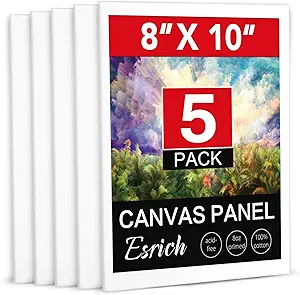
When it comes to wall art, the canvas is your blank slate—the surface where your creativity comes alive. Available in various sizes, textures, and thicknesses, canvases are versatile and suitable for a wide range of painting styles. Whether you prefer stretched canvas on a wooden frame or flat canvas boards, choosing the right type depends on your desired outcome.
Start with pre-primed cotton canvases for beginner-friendly projects.
Choose a size that fits your wall space or intended display area.
Consider using canvas rolls if you plan to create large-scale or multi-piece wall art.
#canvas #wallart #DIYart #artmaterials
The type of paint you choose dramatically impacts your artwork’s appearance, texture, and longevity. Acrylics are great for beginners due to their quick drying time and easy cleanup. Oils offer rich colors and a classic feel, though they require longer drying times. Watercolors provide a soft, translucent look and are perfect for delicate or minimalist styles.
Invest in a basic set of primary colors, then expand as you grow.
Use acrylics for bold modern art and oils for elegant, timeless pieces.
Always test paint on scrap surfaces to see how it behaves before applying to canvas.
#paints #DIYpainting #wallart #homedecor #DIYart
A quality set of brushes is essential for detailed work, blending, texturing, and creating various effects. Brushes come in different shapes like flat, round, fan, and filbert—each designed for specific techniques.
Use flat brushes for broad strokes and round brushes for detail.
Synthetic brushes work well with acrylics, while natural bristles are ideal for oils.
Clean your brushes immediately after each session to extend their life.
#brushes #paintingtools #arttools #DIYwallart
Your palette is where the magic happens. It’s the tool you’ll use to mix colors, experiment with shades, and test blends before applying them to the canvas. Palettes can be traditional wooden ones, disposable paper pads, or acrylic trays with wells for mixing.
Choose a palette large enough to keep your colors from mixing unintentionally.
Keep a spray bottle handy to mist acrylics to prevent them from drying too quickly.
Clean your palette after every session to avoid old paint interfering with new creations.
#palette #paintingtools #arttools #DIYart
A good easel provides a stable and comfortable position for creating your wall art. It helps you maintain posture, see your artwork at eye level, and reduce the risk of smudging your work.
Tabletop easels are perfect for small spaces and beginners.
Invest in a standing easel if you work on large canvases regularly.
Some easels come with built-in storage for brushes and paints.
#easel #arttools #paintingtools #wallart
Whether you're creating geometric patterns, lettering, or intricate designs, stencils and templates provide accuracy and consistency in your artwork. They’re especially helpful for artists who want clean lines or repeated patterns.
Use adhesive-backed stencils for cleaner results and minimal paint bleeding.
You can also make your own custom stencils using cardstock and a craft knife.
Use templates for consistent typography, especially in quote-based wall art.
#stencils #templates #DIYcrafts #wallart
Before the first drop of paint hits the canvas, many artists start with a light sketch using pencils. Sketching helps map out your design, plan spacing, and identify focal points. A good eraser ensures you can make corrections without damaging your canvas.
Use HB or 2H pencils for lighter lines that are easy to paint over.
A kneaded eraser allows you to lighten areas without smudging.
Don’t press too hard when sketching—let the paint do the work of defining shapes.
#pencils #erasers #sketching #paintingtools
Painter’s tape is a lifesaver when it comes to creating sharp edges, borders, or separating color blocks. It's specially designed to peel off easily without damaging the canvas or smudging your work.
Use it to mask off areas where you don’t want paint.
Make sure the canvas is completely dry before removing the tape.
Combine it with stencils for more intricate compositions.
#paintersTape #DIYpainting #paintingtools #wallart
Once your masterpiece is finished, applying a varnish or sealer is critical to protect it from dust, UV light, and moisture. Varnishes come in matte, gloss, or satin finishes to suit your style.
Wait until the paint is completely dry—especially with oil-based paints—before applying.
Apply thin, even coats in a well-ventilated area.
Consider using spray sealers for an even finish with minimal brush strokes.
#varnish #sealer #wallart #DIYart
A beautifully crafted piece of wall art deserves to be displayed with care. Frames and hanging materials provide the structure and support for mounting your art. Whether you go for classic wooden frames or a modern frameless style, the presentation is key to how your art is perceived.
Use gallery-style frames for a professional look.
Wire, sawtooth hangers, or command strips offer secure hanging options.
Make sure your hanging materials are rated for the weight of your artwork.
#frames #hangingmaterials #DIYwallart #homedecor
There’s something deeply satisfying about hanging up a piece of art that you created with your own hands. Not only does DIY wall art bring your living space to life, but it also:
Provides a therapeutic, stress-relieving creative outlet.
Saves money compared to store-bought decor.
Allows for complete customization to fit your style.
Makes for thoughtful, handmade gifts.
Lets you develop and grow your artistic skills over time.
Whether you're decorating a home office, bedroom, or living room, handmade wall art adds charm, individuality, and warmth that store-bought pieces often lack.
Start small: Practice on mini canvases or paper before committing to large-scale pieces.
Use online inspiration: Sites like Pinterest, Instagram, and YouTube are full of tutorials and ideas.
Experiment freely: Art is subjective—don’t be afraid to try new colors, techniques, or textures.
Organize your supplies: Having a clean, dedicated space helps you stay focused.
Join art communities: Sharing your work and getting feedback is a great way to grow.
Creating your own wall art isn’t just about making something beautiful to hang—it's about self-expression, mindfulness, and the joy of seeing a blank canvas transform into something personal. By gathering the top 10 essential items listed in this post, you're setting yourself up for a successful and fulfilling artistic journey.
So grab your canvas, squeeze out those paints, pick up your brushes, and let your imagination flow. Whether you're painting a serene landscape, a vibrant abstract piece, or a family quote, you now have the tools and inspiration to make your DIY wall art shine.
#canvas
#wallart
#DIYart
#homedecor
#paints
#artmaterials
#brushes
#paintingtools
#palette
#arttools
#DIYpainting
#easel
#stencils
#templates
#DIYcrafts
#pencils
#erasers
#sketching
#paintersTape
#varnish
#sealer
#frames
#hangingmaterials
#DIYwallart