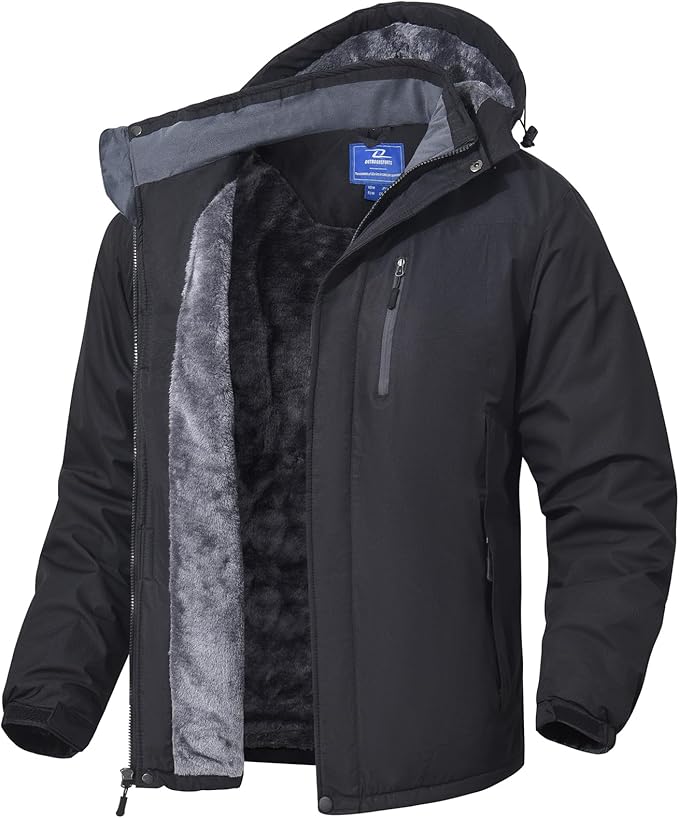
Insulated Winter Coat
Waterproof, insulated coat with a hood to keep you warm during long, cold nights.
Buy OnDiscover the magic of the Aurora Borealis with these must-have items for comfort and safety.
Top 10 Must-Haves for a Northern Lights Viewing Trip Read more →
Waterproof, insulated coat with a hood to keep you warm during long, cold nights.
Buy On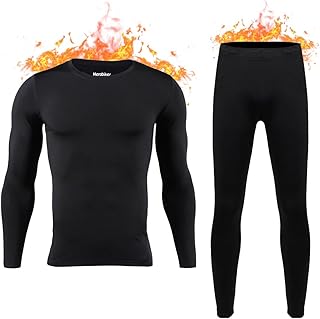
Moisture-wicking, thermal layers to stay warm while waiting for the lights.
Buy On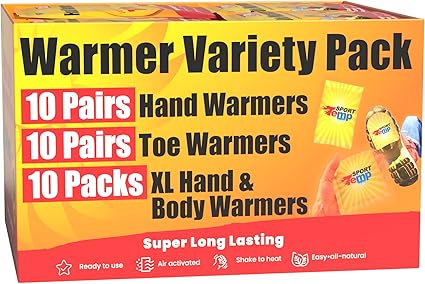
Disposable or rechargeable warmers to keep your extremities toasty in the cold.
Buy On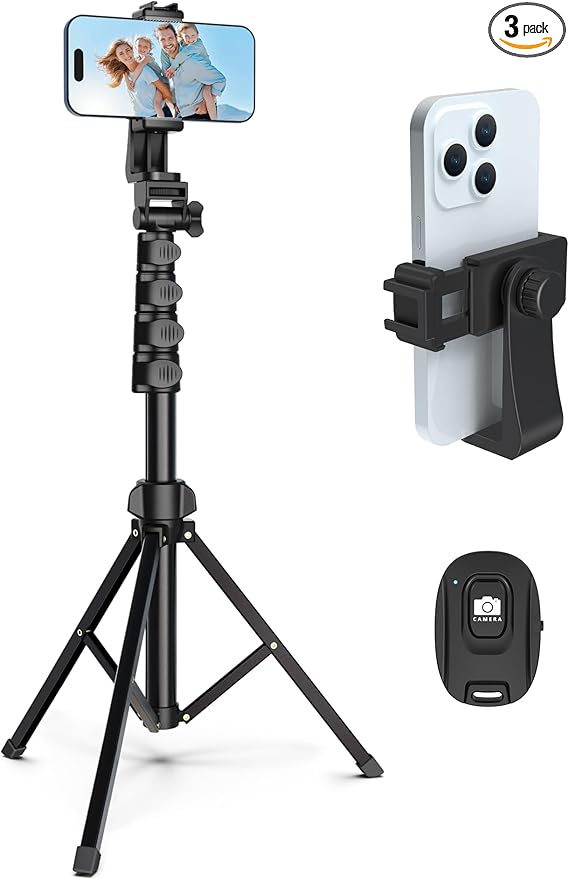
High-quality camera and sturdy tripod for capturing stunning Aurora Borealis photos.
Buy On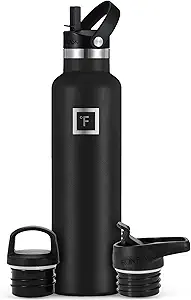
Keep hot drinks like tea or cocoa warm while you wait outdoors.
Buy On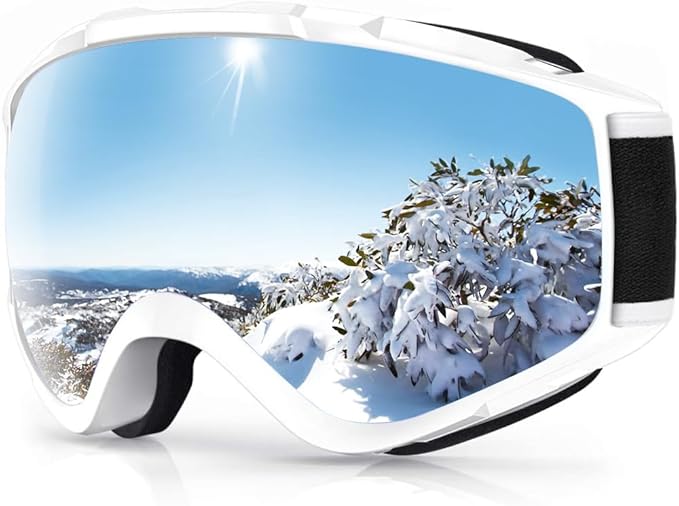
Clear or low-light goggles to shield your eyes from wind and snow glare.
Buy On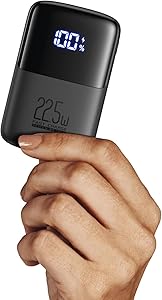
Keep your phone, camera, and devices charged in freezing temperatures.
Buy On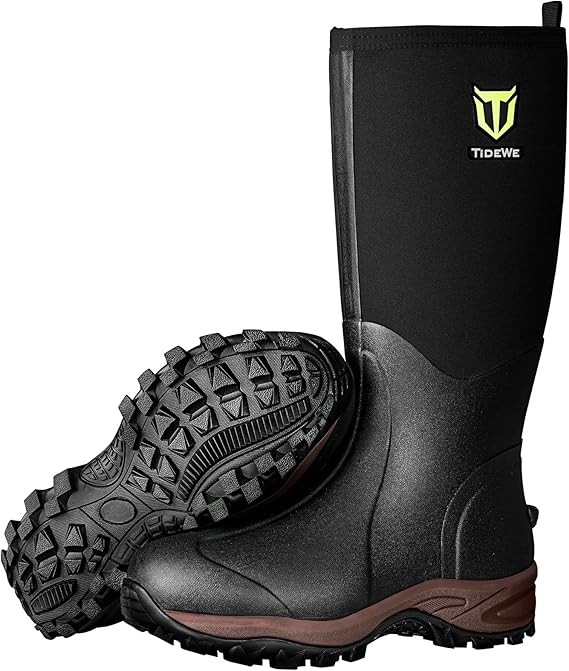
Waterproof, insulated boots for warmth and traction on snowy or icy ground.
Buy On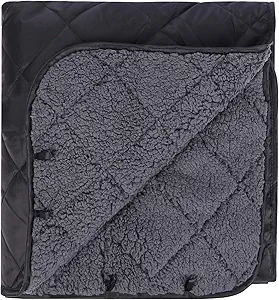
Compact, thermal blanket or sleeping bag for extra warmth during long waits.
Buy On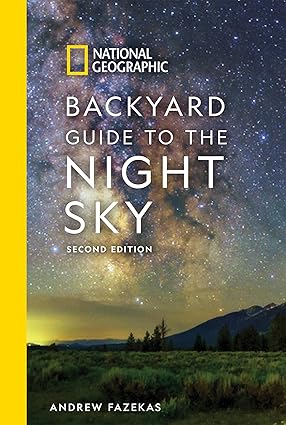
Plan the perfect night using a star map or an app to track the Aurora forecast.
Buy OnTop 10 Must-Haves for a Northern Lights Viewing Trip
Few natural phenomena can match the otherworldly beauty of the Northern Lights, or Aurora Borealis. These magical ribbons of green, purple, and red lights dancing across polar skies are a bucket-list experience for travelers around the globe. But witnessing the Northern Lights isn’t as simple as stepping outside and glancing upward—it requires planning, preparation, and the right gear to make the experience memorable, safe, and comfortable.
Whether you're headed to Tromsø in Norway, Lapland in Finland, Yellowknife in Canada, or Fairbanks, Alaska, preparing for extreme cold and low-light conditions is essential. In this detailed guide, we’ll walk you through the Top 10 Must-Haves for a Northern Lights Viewing Trip, so you can stay warm, take incredible photos, and enjoy every moment under the stars.
Your first line of defense against the Arctic chill is an Insulated Winter Coat. Choose a parka that is windproof, waterproof, and filled with high-quality down or synthetic insulation. Look for features like an extended hemline, adjustable hood, fleece-lined pockets, and cuff closures to lock in heat.
A reliable winter coat can make or break your aurora viewing trip. Standing for hours in sub-zero temperatures waiting for the auroras to appear demands serious outerwear. Brands like Canada Goose, The North Face, and Arc’teryx offer excellent options designed for arctic expeditions.
#wintercoat #auroratrip #warmgear #arcticcomfort
Staying warm starts from the inside out. High-quality Thermal Base Layers are critical for trapping body heat and wicking away moisture. Opt for merino wool or moisture-wicking synthetic fabrics. Cotton is a no-go—it holds moisture and will chill you quickly.
Layering effectively means wearing a thermal top and bottom beneath your outerwear. For added warmth, consider a mid-layer such as a fleece or insulated vest.
#thermallayers #warmgear #arcticcomfort
When the temperatures drop well below freezing, even the best gloves and boots may not be enough. Hand and Foot Warmers provide that extra heat boost you’ll be grateful for while waiting patiently under the stars. Choose air-activated disposable warmers or invest in rechargeable electric ones.
Tuck warmers into your gloves, boots, or pockets to prevent numb fingers and toes—a common issue during long hours in the cold.
#warmers #warmfeet #arcticcomfort
If you’re investing in a Northern Lights adventure, you’ll definitely want to capture the moment. A Camera with Tripod is essential for photographing the auroras properly. DSLRs and mirrorless cameras with manual settings allow for long exposures that capture the vibrant colors of the aurora in all their glory.
A sturdy tripod ensures your camera remains steady during long exposure shots. Don’t forget extra batteries—they drain quickly in the cold.
#auroraphotography #techgear #auroratrip
Sipping a hot drink while watching the aurora light up the night sky? Yes, please. An Insulated Thermos is your companion for keeping drinks like coffee, hot chocolate, or herbal tea piping hot for hours.
Choose a thermos made of stainless steel with double-walled vacuum insulation. Brands like Stanley, Hydro Flask, and Thermos offer excellent cold-weather performance.
#hotdrinks #warmth #gear
It might surprise some, but UV-Protective Snow Goggles are important, even at night. In snowy and icy environments, UV light can reflect off surfaces and cause snow blindness. Also, if you're out during the day scouting locations, your eyes will need protection from harsh UV rays and wind.
Goggles with anti-fog coating and wide lenses also help shield your vision during snowstorms or high winds.
#snowgoggles #arcticview #gear
Phones, cameras, and aurora apps all rely on battery power, which drains extremely fast in freezing temperatures. A Portable Power Bank is your lifeline for staying connected, using GPS, or accessing the aurora forecast app.
Look for rugged, high-capacity power banks designed to operate in cold weather. Wrap it in a glove or insulated pouch for additional protection from the cold.
#powerbank #techgear #aurorawatch
No matter how beautiful the sky is, you won’t enjoy it with frozen toes. Arctic-Grade Boots are designed specifically to withstand extreme cold, snow, and ice. Look for boots with thick insulation (rated for -20°C or below), waterproofing, and good traction for icy terrain.
Brands like Baffin, Sorel, and Kamik make boots suitable for Northern Lights excursions. Pair with wool socks for added warmth.
#arcticboots #warmfeet #gear #arcticcomfort
If you’re heading far from urban light pollution, chances are you’ll spend long hours in remote locations. Having a Blanket or Sleeping Bag gives you the option to lie down, stay cozy, or even nap while waiting for the auroras to appear.
Choose an insulated, weather-resistant sleeping bag rated for sub-zero temperatures. Alternatively, a thick fleece or wool blanket can also do the trick, especially if you're stargazing from a vehicle or tent.
#warmblanket #warmth #auroratrip
The Northern Lights are as elusive as they are beautiful. A Star Map or Aurora Forecast App helps you locate constellations, identify planets, and, most importantly, predict aurora activity.
Popular apps like My Aurora Forecast, Aurora Alerts, and Star Walk 2 offer real-time predictions, geomagnetic activity tracking, and notifications. These tools ensure you’re always one step ahead when hunting the aurora.
#auroraforecast #aurorawatch #stargazing
Seek out areas with minimal light pollution. National parks, lakesides, and remote mountainous regions often provide the best views. Make sure you’re legally allowed to be there at night and follow Leave No Trace principles.
Learning how to shoot the auroras takes a little time. Practice with long exposures and focus settings before your trip. Try to shoot in RAW format for the best post-processing flexibility.
Auroras don’t follow a human schedule. You may wait for hours in the cold for a brief appearance—or be gifted a night of continuous magic. Be patient, stay warm, and enjoy the serenity of the polar night.
A white headlamp can ruin your night vision and interfere with long-exposure photos. Use red light to preserve your night vision while adjusting settings or navigating your surroundings.
A Northern Lights viewing trip is a once-in-a-lifetime adventure. But the extreme cold and unpredictable timing can quickly turn magical moments into miserable ones if you're not well-prepared.
Investing in quality gear like an Insulated Winter Coat, Arctic-Grade Boots, and Thermal Base Layers ensures your comfort and safety. Pair that with Hand Warmers, a Camera with Tripod, and the right tech tools, and you’re all set to enjoy one of nature’s greatest shows.
With the right preparation, you can stay warm, safe, and mesmerized while basking in the glow of the aurora borealis.
Insulated Winter Coat
Thermal Base Layers
Hand and Foot Warmers
Camera with Tripod
Insulated Thermos
UV-Protective Snow Goggles
Portable Power Bank
Arctic-Grade Boots
Blanket or Sleeping Bag
Star Map or Aurora Forecast App
#wintercoat
#auroratrip
#thermallayers
#warmgear
#warmers
#arcticcomfort
#auroraphotography
#gear
#hotdrinks
#warmth
#snowgoggles
#arcticview
#powerbank
#techgear
#arcticboots
#warmfeet
#warmblanket
#aurorawatch
#auroraforecast
#stargazing