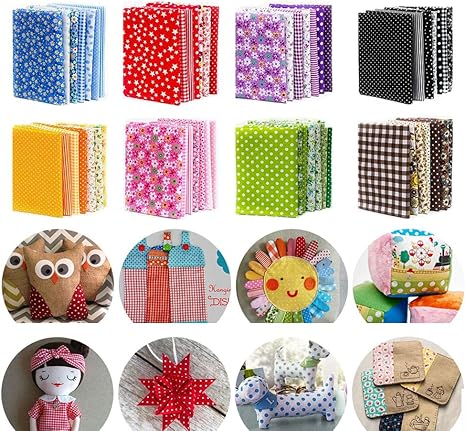
Fabric Pieces
Bring your own fabric pieces for personal projects.
Buy OnKey items and tips to enhance your textile art experience
Title: Things to Remember When Going to a Textile Art Class: A Complete 3000-Word Guide for Creative Success Read more →
Bring your own fabric pieces for personal projects.
Buy On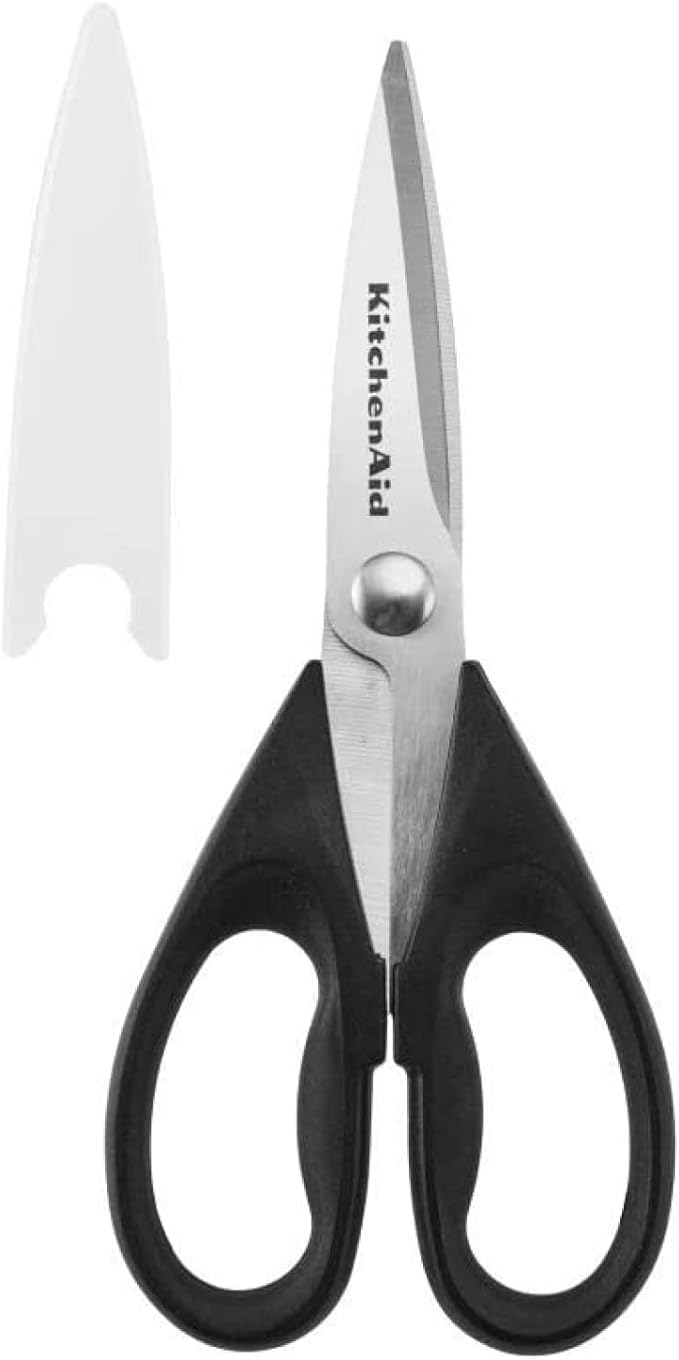
A good pair of scissors for cutting fabric.
Buy On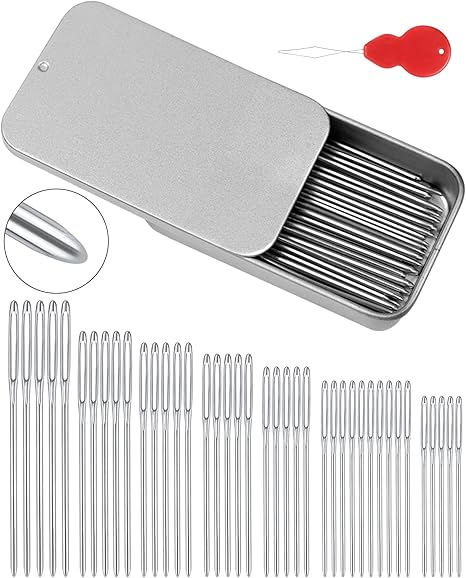
Bring sewing needles for stitching and embroidery.
Buy On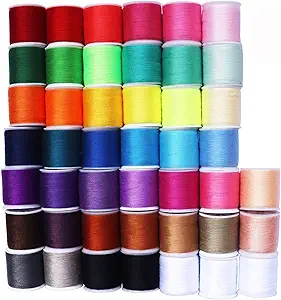
An assortment of threads in various colors.
Buy On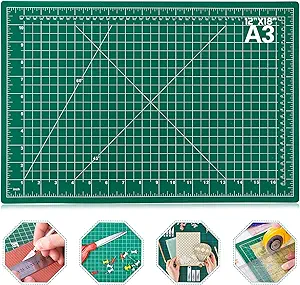
A cutting mat for protecting surfaces while cutting.
Buy On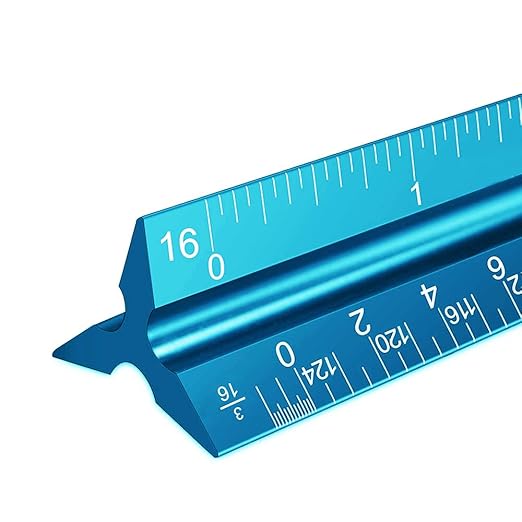
A ruler for measuring and ensuring precise cuts.
Buy On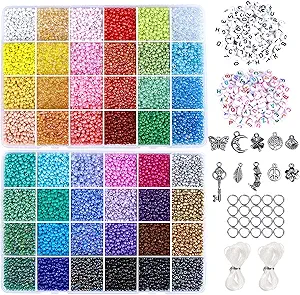
Bring embellishments like beads or buttons for decoration.
Buy On
A notebook for jotting down techniques and inspirations.
Buy On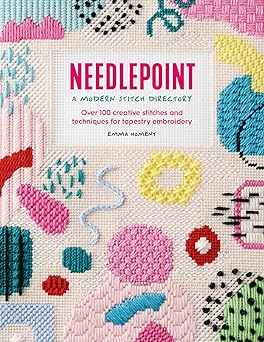
Reference materials for different techniques and styles.
Buy On
A positive attitude and willingness to learn new skills.
Buy OnTitle: Things to Remember When Going to a Textile Art Class: A Complete 3000-Word Guide for Creative Success
Are you ready to stitch, weave, and embroider your way into the fascinating world of textile art? Whether you're a complete beginner or someone looking to sharpen their fiber skills, attending a textile art class is a wonderful way to tap into your creative spirit. But before you dive into a world of fabrics and fibers, it’s essential to come prepared.
This comprehensive guide covers everything you need to remember before stepping into your textile art class—tools, mindset, and all the little extras that can elevate your learning experience. Let’s unravel the essentials together!
#textileart #supplies #learning
Textile art blends creativity, patience, and technical know-how. From hand stitching and embroidery to fabric collage and mixed-media fiber art, the possibilities are endless. But success in your class often depends on what you bring and how prepared you are to immerse yourself fully.
This guide includes 10 must-have items that every textile art student should pack and why they matter.
#fabric #crafting #supplies
You can't do textile art without fabric. Fabric is your blank canvas—the base on which you’ll embroider, applique, or manipulate textures. Bring a selection of fabric types to experiment with different textures, weights, and finishes.
Cotton: Easy to handle and perfect for beginners.
Linen: Ideal for embroidery and hand-stitching.
Silk or Organza: Great for layering and transparency.
Upcycled Fabrics: Old clothes or scraps for sustainability and uniqueness.
Pro Tip: Pre-wash your fabrics at home to avoid shrinkage later.
#scissors #tools #textileart
A high-quality pair of fabric scissors is essential for clean cuts and detailed work. Never use your fabric scissors on paper or cardboard—it dulls them quickly.
Shears: Long blades for large cuts.
Embroidery Scissors: Small and sharp for detail work.
Pinking Shears: Zigzag edges to prevent fraying.
Bonus Tip: Bring a small thread snipper for quick thread trims while working.
#needles #tools #crafting
Sewing needles come in all shapes and sizes. The type you use will depend on your project—embroidery, hand-stitching, beading, or quilting.
Embroidery Needles: Larger eyes for thick thread or floss.
Sharps: Ideal for general sewing.
Tapestry Needles: Blunt ends, great for working on looser weaves or yarn-based art.
Pro Tip: Bring a needle threader if you're working with fine thread or have vision challenges.
#thread #supplies #textileart
Thread isn't just functional—it's a medium for artistic expression. Bring a variety of colors and thicknesses to experiment with texture and tone.
Embroidery Floss: Great for decorative work.
Cotton Thread: Basic and dependable.
Metallic Thread: Adds shimmer.
Variegated Thread: Beautiful for gradient effects.
Storage Tip: Use bobbins or zippered pouches to avoid tangles.
#cuttingmat #tools
A self-healing cutting mat is a game-changer, especially if you’re working with rotary cutters or need precise angles and measurements.
Protects the classroom table.
Offers a gridded surface for measuring.
Ideal when used with a rotary cutter or X-Acto knife.
Pro Tip: Bring a travel-size cutting mat (e.g., 12"x18") if space is limited.
#ruler #tools #precision
A clear acrylic ruler is essential for accurate measurements, straight lines, and perfect angles. Especially useful when working with quilting patterns, geometric shapes, or aligning fabric edges.
Non-slip backing
Clear markings in inches and centimeters
Rotary cutter-compatible edges
Extra Tip: Bring a flexible measuring tape for measuring curves or your own projects.
#embellishments #crafting #creativity
Elevate your textile art with embellishments. From beads and buttons to lace and sequins, these decorative elements help personalize your work.
Beads, Sequins, and Buttons
Ribbon, Lace, or Trim
Iron-on Patches or Embroidered Motifs
Found Objects (old jewelry, charms)
Pro Tip: Keep small embellishments in divided containers or pillboxes to avoid spills and confusion during class.
#notebook #learning #reference
Your notebook will be your second brain during class. Use it to jot down:
Class instructions and stitch techniques
Pattern sketches and layout ideas
Inspirational quotes or project prompts
Fabric swatches and color combinations
Consider using a mixed-media journal so you can glue in bits of fabric or thread samples for future reference.
#reference #learning #textileart
Bringing a book or printed resource can provide structure and inspiration during class. These resources help when you're stuck or want to practice specific techniques.
The Art of Embroidery by Francoise Tellier-Loumagne
Stitch guides or visual references
Printed Pinterest boards or mood boards
Step-by-step technique sheets
Pro Tip: If your teacher provides handouts, store them in your notebook for easy access later.
#attitude #learning #creativity
Perhaps the most important thing to bring is a positive attitude. Textile art takes patience, and everyone starts somewhere. Mistakes are simply part of the process.
Allow yourself to make imperfect art.
Embrace learning curves—literally and metaphorically.
Celebrate your small wins (like threading the needle on the first try!).
Be open to feedback and try new techniques, even if they seem hard at first.
Mindset Tip: Start class with a goal: “Today I will try one new stitch” or “I will finish one section of my piece.”
Here’s a quick reference checklist to ensure you don’t forget any essentials:
✅ Fabric Pieces
✅ Scissors
✅ Sewing Needles
✅ Thread
✅ Cutting Mat
✅ Ruler
✅ Embellishments
✅ Notebook
✅ Reference Materials
✅ Positive Attitude
Optional but helpful:
Rotary Cutter
Needle Threader
Thimble
Glue or Fabric Adhesive
Storage Bins or Pouches
Travel Iron for pressing work
This is especially helpful if you're attending a group class. Many tools look similar, so label yours to prevent confusion.
Textile art can get messy. Take a few minutes at the end of class to organize your supplies and clean up your space—it shows respect for your instructor and classmates.
Document your journey by snapping photos of each project. You'll love looking back and seeing how much you’ve grown.
Skill-building comes from repetition. Set aside 15–30 minutes a few times a week to practice your stitches or experiment with fabric layering.
Look for online forums, social media groups, or local fiber art circles. Sharing your work and seeing others’ projects is both inspiring and educational.
Using the Wrong Needle or Thread: Match the needle size to your fabric and thread for easier stitching.
Skipping Measurements: Freeform art is fun, but foundational pieces need structure.
Fraying Fabric Edges: Use pinking shears or hem edges for cleaner results.
Overloading with Embellishments: Sometimes less is more—don’t overcrowd your piece.
Being Too Hard on Yourself: Progress takes time. Trust the process!
Textile art is more than sewing—it’s storytelling with stitches, painting with thread, and sculpting with softness. Every thread you pull and every fabric you choose becomes part of a greater creative expression.
By remembering these essentials, you not only ensure a smoother classroom experience but also cultivate an environment where your creativity can truly thrive.
So gather your supplies, roll up your sleeves, and let the texture of creativity guide your hands. Happy stitching!
#fabric #textileart #supplies #tools #scissors #needles #crafting #thread #cuttingmat #ruler #embellishments #notebook #learning #reference #attitude