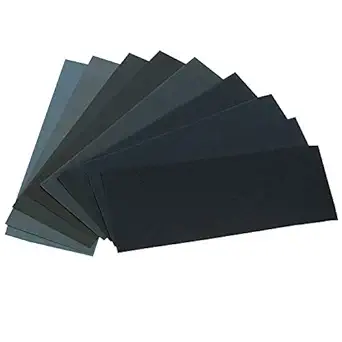
Sandpaper
Various grits of sandpaper for smoothing surfaces before refinishing.
Buy OnEssential Tools and Supplies for Successfully Refinishing Furniture
Top 10 Essentials for Refinishing Old Furniture Read more →
Various grits of sandpaper for smoothing surfaces before refinishing.
Buy On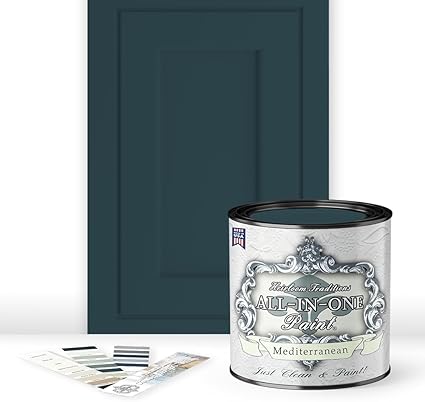
Stain to enhance and color the wood, available in various shades.
Buy On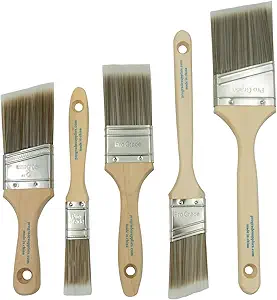
Quality brushes for applying paint or stain evenly.
Buy On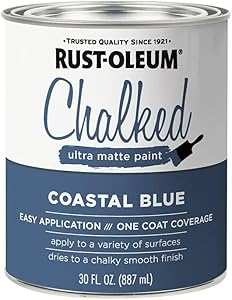
Durable paint or chalk paint for a fresh, new look.
Buy On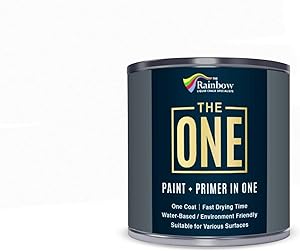
Primer to ensure better paint adhesion and finish durability.
Buy On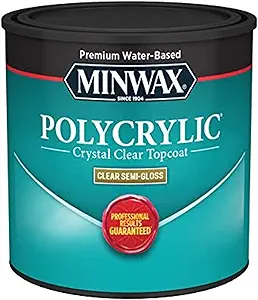
Sealant or topcoat to protect the surface after refinishing.
Buy On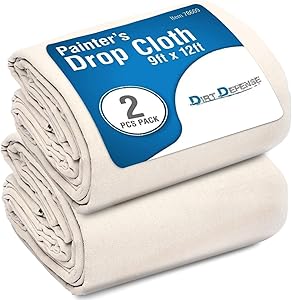
Cloths to protect floors and surfaces from spills and drips.
Buy On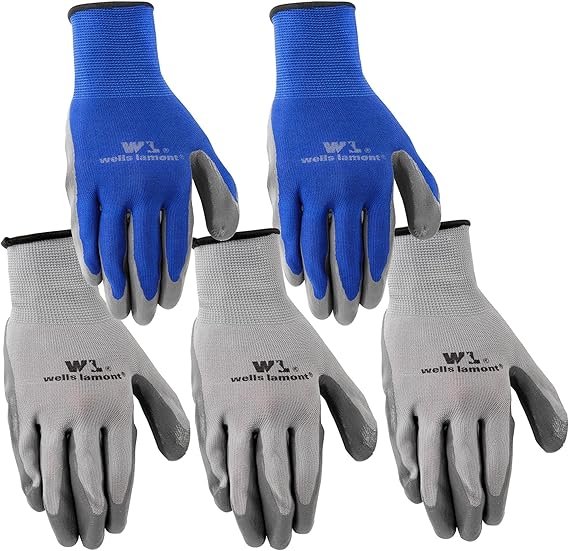
Protective gloves to keep hands safe from chemicals and paint.
Buy On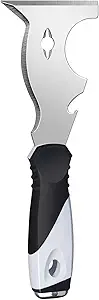
A scraper for removing old paint or finish effectively.
Buy On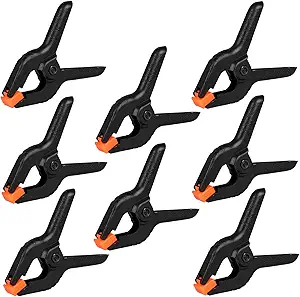
Clamps to hold pieces together securely while drying or working.
Buy OnBreathing new life into an old piece of furniture is one of the most satisfying and creative DIY projects you can undertake. Whether you're salvaging a flea market find, updating a family heirloom, or simply revamping something from your attic, refinishing old furniture allows you to customize, restore, and personalize your space.
But before you dip that brush or reach for the stain, it's important to have the right tools and supplies on hand. With proper preparation, you’ll avoid costly mistakes, save time, and achieve stunning, long-lasting results.
This in-depth guide covers the top 10 essentials for refinishing old furniture, complete with practical tips and advice for beginners and pros alike.
Why It’s Essential:
Sandpaper is the backbone of any refinishing project. It removes old finishes, smooths surfaces, and prepares the wood to properly absorb paint, stain, or sealer.
60–80 Grit: Heavy sanding and stripping old finishes
100–150 Grit: Smoothing out rough wood
220+ Grit: Final sanding before applying finish or paint
Use a sanding block for better control on flat surfaces
Consider an electric sander for larger projects
Always sand in the direction of the wood grain
#sandpaper #refinishing #furniture #DIY #tools
Why It’s Essential:
Wood stain enhances the natural beauty of wood, adding rich color while allowing the grain to show through. It’s ideal for achieving a classic or rustic look.
Oil-based: Deep penetration, long-lasting
Water-based: Fast drying, low odor
Gel stain: Thicker and good for vertical surfaces
Test stain on a hidden area first
Apply evenly with a lint-free cloth or brush
Wipe off excess before it dries for even coloring
#woodstain #color #refinishing #DIY #finish
Why It’s Essential:
Quality paintbrushes ensure smooth application of paint, stain, primer, and sealant. Investing in the right brush prevents bristle shedding and streaky finishes.
Synthetic bristles for latex and water-based paints
Natural bristles for oil-based products
Angled brushes for detail work and edges
Clean immediately after use and store flat to preserve the bristles.
#paintbrushes #tools #painting #refinishing #DIY
Why It’s Essential:
Whether you’re going for a clean modern look or a shabby-chic finish, paint is a transformative option. Chalk paint in particular is a favorite among DIYers for its matte texture and minimal prep requirements.
Latex paint: Durable and comes in many finishes
Chalk paint: Matte finish, ideal for vintage looks
Milk paint: Natural and eco-friendly with a soft, rustic finish
Apply in thin, even coats
Use a foam roller for flat areas
Distress lightly with sandpaper for an aged look
#paint #chalkpaint #color #refinishing #DIY
Why It’s Essential:
Primer creates a smooth, adhesive surface for paint, especially when dealing with dark woods or previously finished furniture.
Blocks stains and odors
Enhances paint adhesion
Prevents peeling and uneven color
Use a bonding primer if painting over laminate or glossy surfaces.
#primer #painting #tools #furniture #refinishing
Why It’s Essential:
A protective finish is your furniture’s shield against wear, moisture, and fading. Once you've painted or stained your piece, seal it to ensure it stands the test of time.
Polyurethane: Tough and water-resistant
Polycrylic: Clear, less yellowing over time
Wax: Used over chalk paint for a soft sheen
Apply thin coats with a clean brush or sponge, sanding lightly between layers.
#finish #protection #refinishing #DIY #tools
Why It’s Essential:
Protect your floors and workspace with drop cloths. These prevent spills and make cleanup a breeze.
Canvas drop cloths: Reusable, durable, won’t slip
Plastic sheeting: Cheap and water-resistant
Old sheets or tarps: Budget-friendly for light projects
Tape cloths securely around your workspace to avoid shifting mid-project.
#dropcloths #cleaning #refinishing #DIY #protection
Why It’s Essential:
Protective gloves keep your hands clean and safe from chemicals, paint, and stain. They’re also essential for handling rough or splintered surfaces.
Nitrile gloves: Great for oil-based products
Latex gloves: Flexible and snug fit
Work gloves: For sanding, scraping, or lifting heavy items
Bonus Tip:
Keep an extra pair nearby in case of rips or tears.
#gloves #safety #refinishing #DIY #protection
Why It’s Essential:
When you're dealing with old paint, varnish, or grime, a scraper is your go-to tool. It helps lift off old finishes before sanding.
Metal putty knives: For paint or varnish
Plastic scrapers: Gentle on delicate surfaces
Contour scrapers: Ideal for curves and moldings
Heat the surface with a heat gun before scraping to loosen old finishes.
#scraper #tools #refinishing #cleaning #DIY
Why It’s Essential:
Clamps are your extra set of hands. Whether you’re repairing a chair leg, gluing pieces together, or holding parts in place while drying, clamps keep your project steady.
C-clamps: Strong and reliable
Bar clamps: Ideal for long pieces
Spring clamps: Quick and easy to use
Use soft padding to prevent clamps from denting soft wood.
#clamps #tools #refinishing #DIY #furniture
Inspect furniture for damage
Remove old hardware
Clean thoroughly with a damp cloth and mild soap
Use a paint scraper and stripper if the piece has layers of paint or varnish
Always work in a well-ventilated area
Begin with coarse sandpaper
Gradually move to finer grits
Wipe down dust with a tack cloth
Apply primer if painting
Choose stain for a natural finish
Use high-quality brushes for smooth application
Seal your work with polyurethane or wax
Let it dry thoroughly between coats
Add new or cleaned hardware
Style your refreshed piece in your space!
Work in a well-ventilated space – fumes from paint and stain can be strong.
Test colors on scrap wood before committing.
Be patient – don’t rush drying times.
Less is more – thin, even coats always look better.
Practice on small items before tackling large pieces.
Skipping sanding – leads to peeling paint
Using the wrong paintbrush – causes streaks and bristle shedding
Not sealing – can ruin your hard work
Skipping gloves – hands can absorb chemicals
Using cheap tools – they often cost more in the long run
Refinishing furniture is more than just a DIY project—it's a creative journey that combines craftsmanship, sustainability, and design. With these 10 essential tools and a bit of patience, you can transform worn-out furniture into beautiful, functional pieces with lasting charm.
Whether you’re painting a vintage dresser or staining a coffee table, having the right sandpaper, paintbrushes, stain, primer, and protective gear ensures professional-looking results that you’ll be proud to display.
So roll up your sleeves, grab your gloves, lay down your drop cloths, and let your creativity shine through every brushstroke.
#refinishing #furniture #DIY #woodstain #color #paintbrushes #tools #paint #primer #painting #finish #protection #dropcloths #cleaning #gloves #safety #scraper #clamps