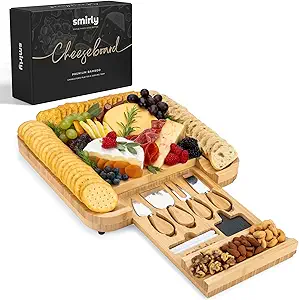
Wooden Cheese Board
A sturdy and stylish wooden board for arranging your meats, cheeses, and accompaniments.
Buy OnThe Best Tools and Ingredients for Crafting a Beautiful Charcuterie Board
Top 10 Essentials for a Charcuterie Board Presentation Read more →
A sturdy and stylish wooden board for arranging your meats, cheeses, and accompaniments.
Buy On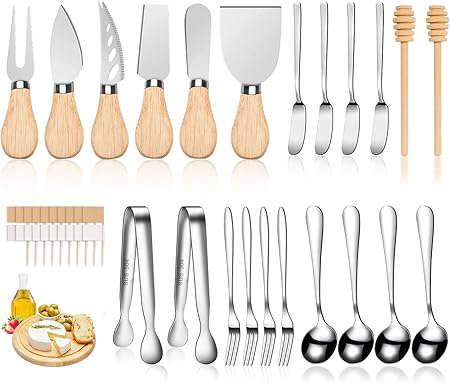
A set of specialized knives for cutting different types of cheese with ease.
Buy On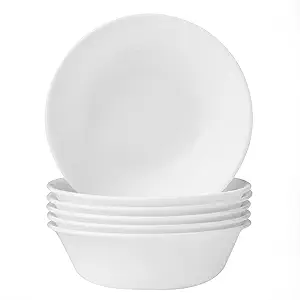
Small bowls for olives, spreads, and dips to complement your board.
Buy On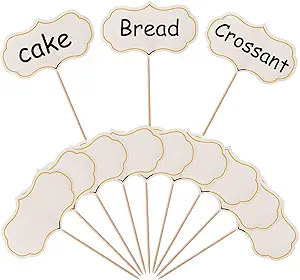
Use cheese markers to label different cheeses on your board for easy identification.
Buy On
A slicer for cutting deli meats like prosciutto, salami, and ham into perfect thin slices.
Buy On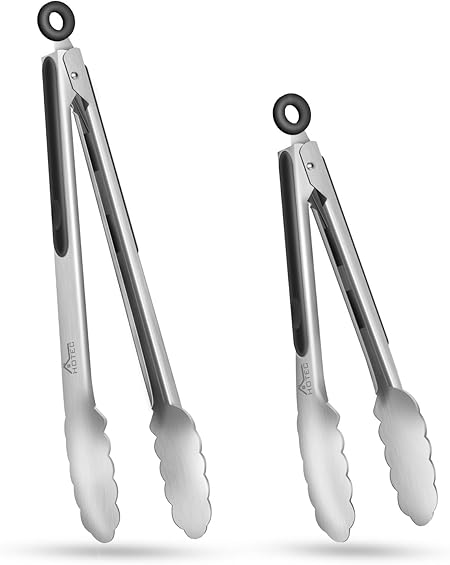
Tongs to serve meats and cheeses with ease and avoid using your hands.
Buy On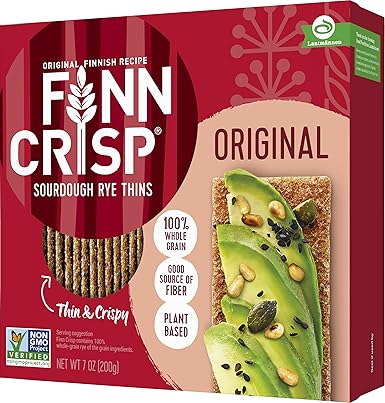
A selection of crackers and bread for serving alongside meats and cheeses.
Buy On
Fresh fruits such as grapes, figs, or apple slices add sweetness to balance the savory items.
Buy On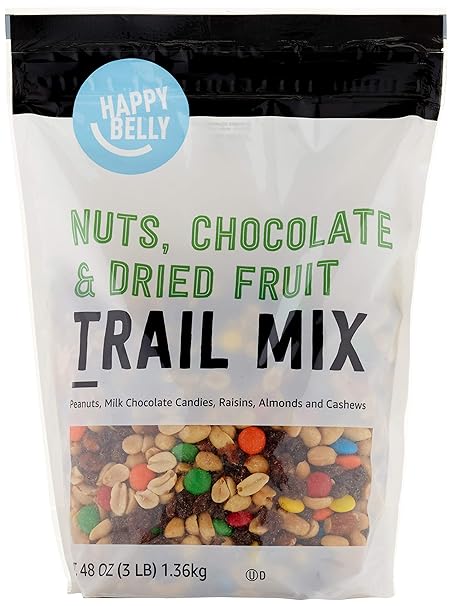
Dried fruits and nuts for a crunchy and sweet addition to your charcuterie board.
Buy On
Wine or other beverages that pair well with your selection of meats and cheeses for the perfect pairing.
Buy OnTop 10 Essentials for a Charcuterie Board Presentation
Creating a beautifully curated charcuterie board goes beyond just arranging meats and cheeses—it’s an art form, a sensory journey, and an experience to savor. elevate your spread from simple snacks to an unforgettable gathering centerpiece. Guided by pantry staples, smart tools, and presentation flair, you’ll consistently delight guests and satisfy varied palates.
Tags: #cheeseboard #charcuterie #woodenboard
A rustic wooden board provides a natural, stylish base that keeps cheeses cool and serves as a conversation starter.
Opt for a sustainably sourced hardwood like acacia, maple, or bamboo.
Size: 16–24 inches offers room for variety without overcrowding.
Finish: Food-safe mineral oil preserves beauty and prevents dryness.
Lightly oil before first use and monthly upkeep.
For serving, place the board on a wooden trivet or cloth to prevent slippage.
Keep it from fridge to table—no metal trays unless chilled to preserve board integrity.
Tags: #cheeseknives #presentation #charcuterie
Each cheese type (soft, hard, crumbly) needs a tailor-made knife for clean slicing and neat presentation.
Soft/cream knife: Sliced on the board without sticking
Hard/Parmesan knife: Stout tip to break apart aged cheeses
Slicing plane for semi-soft cheeses
Forked tip utility for serving portions
Place knives near each cheese to guide guests.
Clean and dry thoroughly between uses to maintain blade performance.
Consider color-coding handles or adding delicate engravings for personality.
Tags: #bowls #spreads #presentation
Bowls contain olives, preserves, honey, dried fruits, nuts, or pâté to prevent cross-contamination.
2–4 oz ramekins or ceramic bowls in cohesive color palettes.
Vary shapes—circle, oval—to create visual contrast.
Insulate with small ice packs underneath cold dips like tzatziki.
Use metal spoons or honey dippers for serving.
Place bowls near corresponding cheeses (e.g., fig jam with blue cheese).
Arrange bowls near board edges across from tongs for flow.
Tags: #cheesemarkers #labeling
Labels educate guests, highlight pairings, and give gravitas for upscale events.
Mini chalkboard stakes: customizable, reusable
Wooden tags or tent cards secured with tiny clothespins
Printable name tags for themed events (farmhouse, bistro, vineyard)
Include cheese name, origin, and milk type (cow, goat, sheep).
Color-code fonts with pairing suggestions—blue for bold, green for mild.
Add special notes like “Truffle-infused” or “Award-winner.”
Tags: #meatslicer #slicing #charcuterie
Thin, even slices look appetizing, depart early, and encourage sampling across a board.
Semi-automatic meat slicer with adjustable thickness
Manual cured meat slicer for at-home deli-style precision
Sharp chef’s knife in a pinch—rotate angle and cut at an incline
Chill meat 15–30 minutes for firmer slicing.
Fold slices into rolls, rosettes, or fans for visual texture.
Label pate or spreads with tags to avoid confusion.
Tags: #servingtongs #presentation #snacks
Tongs help guests select olives, cheese cubes, fruit pieces discreetly and hygienically.
Lightweight stainless steel with silicone tips and scalloped edges.
4–6 inch length fits between cheeses.
Colored tips or etched sides for style variety.
Use separate tongs for cheese and fruit.
Place tongs in-situ for guests to easily retrieve, minimizing cross-contamination.
Clean between courses to maintain freshness.
Tags: #crackers #bread #snacks
They provide texture, serve as a base for cheese/meats, and round out your spread.
Long baguette slices, seeded crackers, crostini.
Variety in flavor (olive oil, rosemary, multigrain, simple water crackers).
Toast some fresh rosemary or garlic for homemade flair.
Serve just before guests arrive to maintain crispness.
Fan slices or nibble-size pieces near corresponding cheeses.
Keep extras in sealed containers to prevent staleness.
Tags: #freshfruits #presentation #charcuterie
Fresh produce cuts richness, brightens the palette, and adds natural sweetness.
Grapes, berries, apple/pear slices (acidity matches cheeses well)
Figs and stone fruits add gourmet texture
Kiwi or citrus dazzle with vibrant colors
Leave grapes on small stems to reduce damage.
Freshen slices with lemon juice to prevent oxidation.
Arrange strategically—cheese, fruit, meat—alternating for color variety.
Tags: #driedfruits #nuts #snacks
They lend chewiness, contrast, and crunch—perfect with soft or smooth charcuterie.
Dried apricots, figs, dates for natural sweetness
Nuts: Marcona almonds, walnuts, pistachios; roasted or raw
Optional gourmet extras: cacao nibs, honeyed pecans
Rest nuts with herbs or warmed brown butter before service.
Use bowls or scatter freely to complement cheeses like Manchego or Camembert.
Label allergen-bearing ingredients clearly.
Tags: #wine #pairings #presentation
Great wine conversation elevates the board, and strategic pairing emphasizes your spread's full potential.
Whites: Chardonnay for Brie, Sauvignon Blanc for feta/chevre
Reds: Pinot Noir for charcuterie, Malbec for aged Gouda
Rosé: Versatile for ham, turkey, or creamy interior cheeses
Fill tasting glasses with chilled (40–50°F) white, rosé, sparkling; reds at ~60–65°F.
Provide a wine descriptions card that narrates notes and pairings.
Include alphabetical arrangement—lightest to bold.
Place cheese knives near each cheese; rest small bowls for olives.
Center clusters of charcuterie; use muffin cups for moist/wet items.
Use 3–5 varieties (soft, semi-soft, hard, blue).
Slice partially to offer texture; leave one block for visual appeal.
Layer meat in waves or rosettes; group near cheeses for pairing guidance.
Arrange crackers, fan baguette slices near curves of cheese/meat.
Scatter berries and crackers, fill cavities with bowls of olives, grapes, dried fruit clusters, and nuts.
Strategically place fresh herbs and edible flowers for color and aroma.
Add labels and wine station with glasses and notes.
Use odd numbers—typically 3–5 cheese types and 2–3 meats.
Keep texture in mind: smooth triple cream next to crunchy crackers.
Play with height—stack bowls or clustered items for depth.
Stick with a cohesive color palette—earthy tones with pops of red/green.
Clean edges with a damp cloth for a polished look.
Refresh the board when empty to keep it full and inviting.
Highlight seasonal items like figs, almonds, or saffron honey for flair.
Cheeses: Triple-cream Brie, Comté, Manchego, Blue Stilton
Meats: Serrano ham, Genoa salami, soppressata
Spreads/Others: Marcona almonds, figs, dried apricots, green olives
Breads/Crackers: Rosemary ciabatta crostini, olive baguette chips
Wine: Chardonnay, Pinot Noir, Rosé
Compelling charcuterie board presentations are more than just food—they’re edible artwork designed for sharing. By combining the ten essential tools—from your wooden cheese board and cheese knives to small bowls, cheese markers, and wine pairings—you’ll create an elegantly arranged, tastefully balanced, and visually striking spread perfect for any occasion.
Pair stellar flavors, set the mood with beautiful prints and glassware, and let your board become the conversation centerpiece. Bon appétit et santé! 🍷