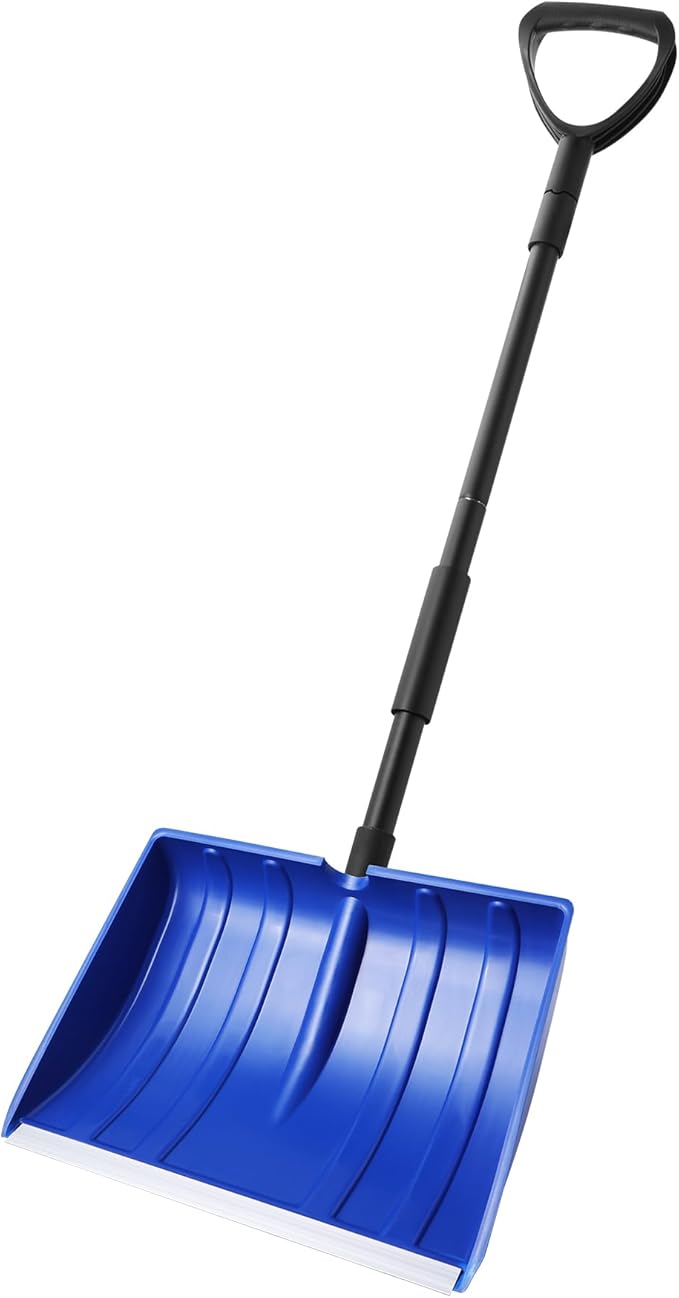
Snow Shovel
A durable snow shovel for digging and shaping the foundation of your fort.
Buy OnMust-Have Items for Building an Epic Snow Fort
❄️ What You Need to Build an Epic Snow Fort Read more →
A durable snow shovel for digging and shaping the foundation of your fort.
Buy On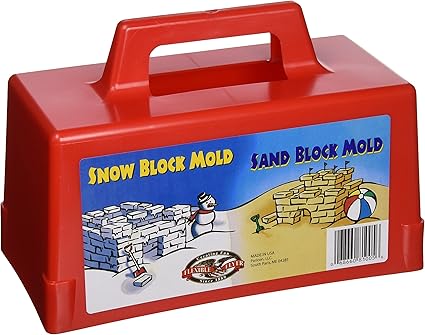
Create uniform bricks to build sturdy and professional-looking fort walls.
Buy On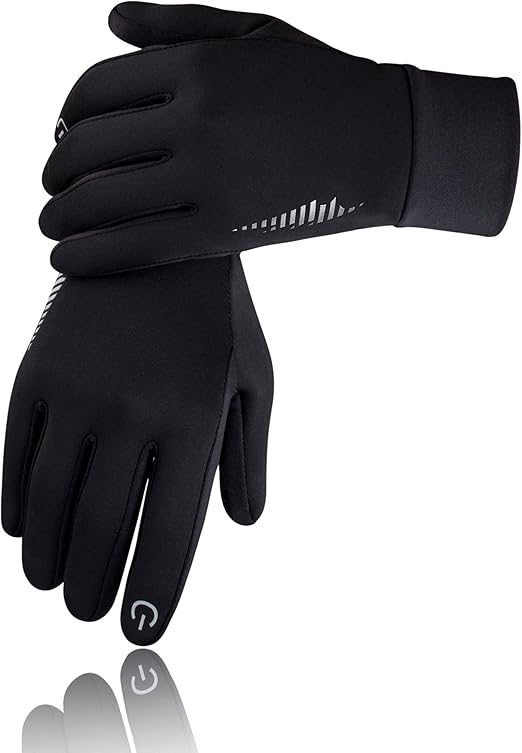
Keep your hands warm and dry while building. Opt for waterproof gloves for added comfort.
Buy On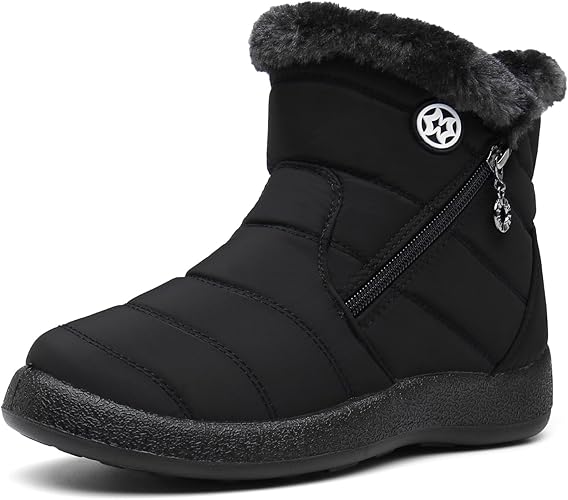
Waterproof snow boots to keep your feet warm and dry while moving through the snow.
Buy On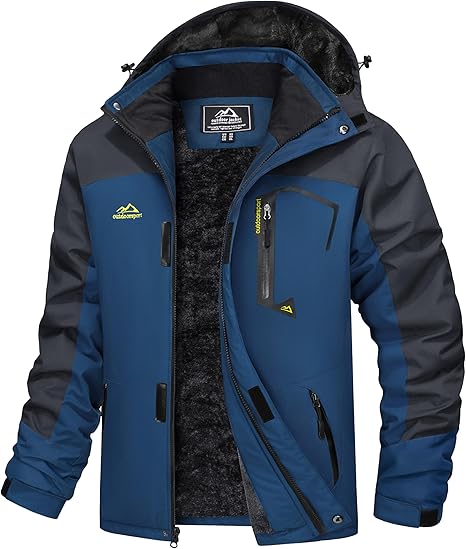
A thick, insulated jacket to keep you comfortable and focused on building.
Buy On
Protect your eyes from flying snow and unexpected splashes while digging.
Buy On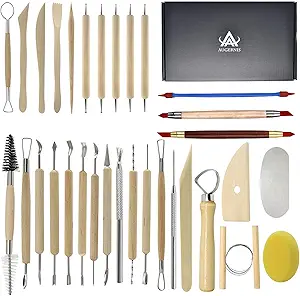
Precision tools for carving intricate designs in your snow fort.
Buy On
Keep your feet warm and insulated from the cold snow.
Buy On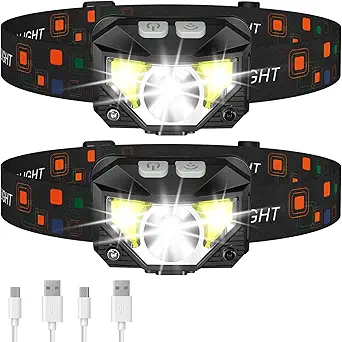
Build even when the sun sets with a bright and adjustable headlamp.
Buy On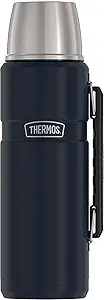
Stay energized with warm beverages during breaks from building.
Buy OnBuilding a snow fort isn’t just a fun winter activity—it’s a creative, team-building experience combining engineering, artistic flair, and outdoor play. To craft a strong, lasting snow fortress in comfort and style, you’ll want the right tools, warmth gear, safety measures, and thoughtful extras.
Here are the 10 must-have items for snow-fort success:
Tags: #snowshovel #snowfort #winterfun
Not just for your driveway—this is your primary construction tool.
Why it matters: A sharp-edged plastic or metal shovel helps scoop, cut, and shape snow quickly.
Pro-tip: Use a flat snow shovel for removing loose snow, and a square utility shovel for shaping corners and walls.
Bonus: Attach the shovel to your backpack for early morning forts or post-snow adventure clean-up.
Tags: #snowbricks #snowfortbuilding #creativebuilding
Turn raw snow into sturdy, stackable bricks.
Material options: Heavy plastic or lightweight silicone molds shaped like bricks, castle blocks, or even igloo dome pieces.
Why use it: Ensures uniform blocks that stack easily—no collapsing walls.
Pro-tip: Slightly melt or brush the edges with warm water before stacking for tight seams.
Tags: #gloves #warmth #wintergear
Your hands are your greatest asset—keep them warm and dry.
Essential features: Waterproof, windproof insulation with a durable outer layer for digging and sculpting.
Look for: Gauntlet-length gloves to prevent snow from sliding down your sleeves.
Pro-tip: Bring an extra pair and store them in a sealed zip bag to thaw and dry between rounds.
Tags: #snowboots #outdoors #wintergear
Keep your tootsies warm, dry, and stable in snow-fort terrain.
Boot essentials: Waterproof shell, insulation rated to at least –20 °C, deep treads for traction.
Why they matter: Prevents moisture from seeping in and supports long hours of fort-building outside.
Pro-tip: Loosen boots over thermal socks to let your feet warm up slowly—tight boots equal cold toes.
Tags: #winterjacket #snowfun #snowfortbuilding
This is your comfort shell—the more physical the work, the tougher the jacket needs to be.
What to choose: A waterproof shell with down or synthetic insulation; at least 650fill power.
Extras that matter: Hood with insulated trim, reinforced elbow patches, pit-zips for venting, wrist gaiters.
Pro-tip: Layer underneath with merino or synthetic thermals, adjusting as body heat ramps up.
Tags: #goggles #safety #winterfun
Protect your eyes from ice shards, wind slush, and intense glare.
Why they matter: Prevent blindness from snow crust and flying snow chunks.
Ideal specs: UV-protected lenses—or lightly tinted for daylight; anti-fog treated and cushioned gaskets.
Pro-tip: Wear over glasses or sunglasses for full coverage—no snow tunnels that limit vision.
Tags: #sculptingtools #creativebuilding #snowfort
Turn an ordinary fort into a masterpiece with finishing tools.
Tool set: Large spatulas (ice scrapers), small shovels, chisels, and silhouette knives for carving battlements.
Use it for: Angling window slits, smoothing walls, and creating creative details.
Pro-tip: Metal cooking spatulas are sharp and precise for corner carving—carry a cloth bag to protect handles.
Tags: #thermalsocks #warmth #wintergear
Your base layer for toes—invest in quality.
Key features: Merino wool or synthetic blends that wick and insulate; mid-calf length for boot overlap.
Pro-tip: Bring two pairs—fresh pair lets feet dry overnight, preventing blisters and cold feet.
Tags: #headlamp #eveningfun #outdoorfun
Don’t stop when the sun drops! A headlamp keeps the fun going late.
Why it matters: Allows you to continue shaping, digging, and defending after dusk.
Best specs: 200+ lumens; red-light mode to preserve night vision and not disturb others.
Pro-tip: Tuck extra batteries inside your jacket so they stay warm and deliver full brightness.
Tags: #thermos #warmdrink #snowfun
Keep spirits—and body heat—high with hot beverages.
Recommended picks: Stainless steel, 16–24 oz capacity, vacuum-sealed to keep drinks piping hot all day.
Fill ideas: Hot chocolate, spiced cider, tea, or sports drink for hydration and warmth.
Pro-tip: Rinse and refill mid-afternoon to stay energized and zero waste. Add micro marshmallows or flavor drops for flair.
Opt for smooth, deep snow on level or gently sloping ground. Look for natural wind breaks like trees or bushes.
Trample the snow in a circle or square to form a dense base that's 6–8 inches thick—this supports heavy walls.
Use molds to create snow bricks. Stack them slightly inward (battered wall style) to support weight and prevent collapse.
Between bricks, pack extra snow to seal gaps and prevent drafts. Smooth with sculpting tools and slushy brush of snow or water.
Use spatulas and chisels to carve embrasures, arrow slits, roof overhangs, and snow sculptures—add creativity!
Dig tunnels, hidden chambers, or drawbridges. Branching corridors amp up versatility and fun.
Place battery-powered fairy lights inside or hang a headlamp for nighttime glow. Never use candles or heat sources inside.
Layered clothing: Light baselayer, insulating mid-layer, shell jacket.
Hat, buff, thermal gloves for break time comfort.
Dry clothes in sealed bags for post-play warm-up.
Flag or stake next to tunnels to prevent collapse accidents.
Hot drink stash and snacks like granola bars—keep energy high.
Take play breaks—snow-building is exercise!
Teach younger builders safe digging practices and how to signal from distance.
Know when to dismantle: watch for melting, daytime warmth, signs of collapse.
9:00 AM – Pack layers, shovel, bricks, drinks, headlamp, snacks.
10:00 AM – Shovel and shape foundation.
11:00 – 1:00 PM – Snack break, mold bricks, begin stacking.
1:00 – 3:00 PM – Build walls, carve features, add tunnels.
3:00 – 4:00 PM – Create sculptures, doorways, finishing touches.
4:00 – 6:00 PM – Add lights, test snowball launchers, enjoy hot drinks.
Evening – Nighttime play under glow light before disassemble for safety.
Parents: Bring extra thermals, supervise structural stability, ensure safe tunnels, bring noise for fun.
Friends: Use headlamps for fortress wars, build separate watchtowers, share hot drinks and laughs by firepit or trunk.
Kids: Easy molds, supervisions, build low walls together—gradually add complexity as they grow confidence.
A snow fort is more than snow—it’s adventure, creativity, teamwork, and winter wonder. With the right gear—from a sturdy snow shovel and mold to warm jackets, gloves, boots, goggles, and hot drink thermos—you’ll stay cozy, safe, and creative all day long.
Keep these essentials close and your project will be an unforgettable winter memory. Snow forts are fleeting, but the joy and empowerment of building them stay with us year after year.
Happy snow forting! 🏰❄️