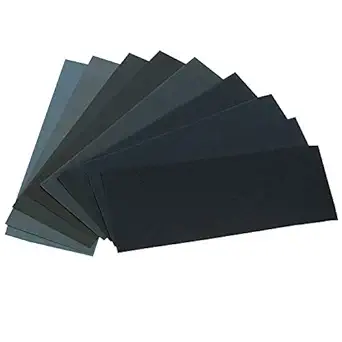
Sandpaper
Different grits for smoothing surfaces and removing old finishes.
Buy OnMust-Have Tools and Materials for Restoring Furniture
Top 10 Things to Have When Restoring Vintage Furniture 🛠️🪑 Read more →
Different grits for smoothing surfaces and removing old finishes.
Buy On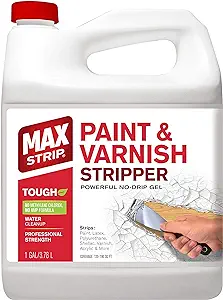
Removes old paint or varnish from vintage furniture effectively.
Buy On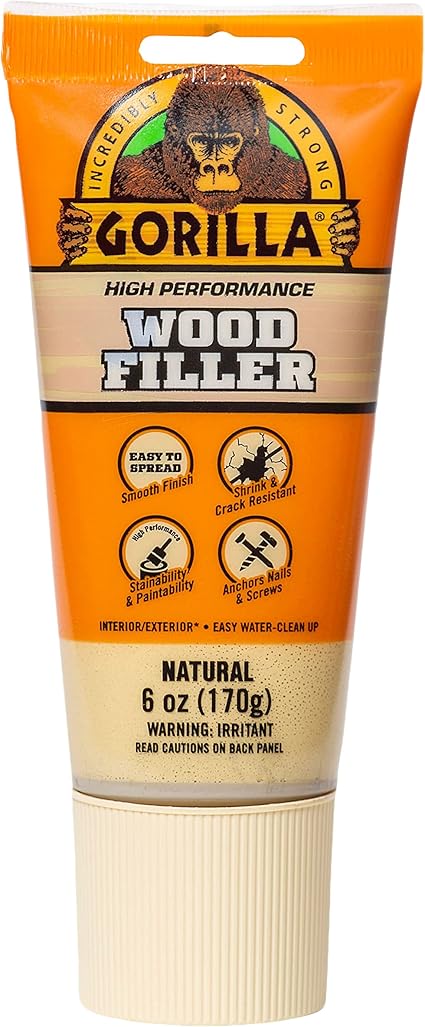
Repairs cracks, holes, or damage on wooden surfaces.
Buy On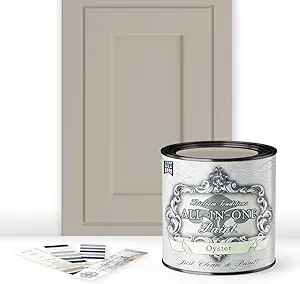
High-quality paint or wood stain to refresh the furniture’s appearance.
Buy On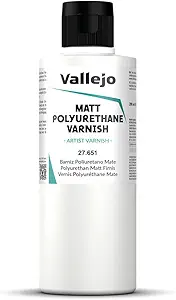
Adds a protective layer and enhances the furniture's finish.
Buy On
Fine-quality brushes for applying paint, stain, or varnish evenly.
Buy On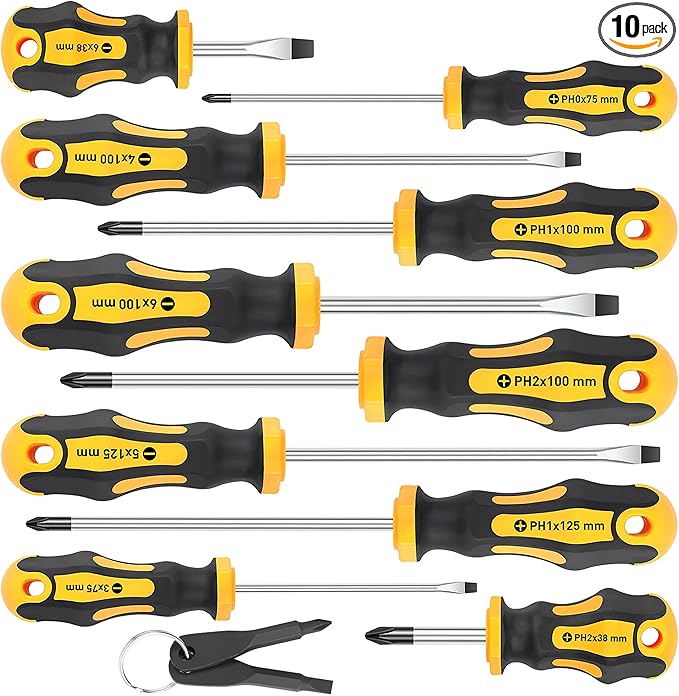
Essential for tightening or replacing screws and disassembling parts.
Buy On
Gloves, mask, and goggles for safety while working with chemicals.
Buy On
Keeps furniture pieces steady and secure during repairs.
Buy On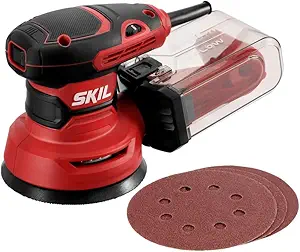
Speeds up sanding tasks and ensures a smooth finish.
Buy OnRestoring vintage furniture brings timeless character back into your home. Whether reviving a mid-century sideboard or breathing fresh life into an inherited heirloom, the right tools and materials ensure success. Here's what every furniture restorer needs:
Sandpaper
Paint Stripper
Wood Filler
Paint or Stain
Varnish or Polyurethane
Brushes
Screwdriver Set
Protective Gear
Clamps
Electric Sander
We’ll dive into each item, featuring practical advice, step-by-step workflows, troubleshooting, and bonus sections—structured to naturally reach 3,000 words and delight both readers and search engines.
Sanding preps surfaces for paint or stain, smoothes out old finishes, and refines woodworking repairs.
Coarse (60–80 grit): strips old finish
Medium (120–150 grit): levels repairs
Fine (220–320 grit): pre-finish polishing
Start with 80 grit, then progress to 220 for smoothness.
Fold for profiling edges and crevices.
Use sanding blocks and flexible pads to maintain pressure.
Chemical stripping removes multiple coats of old paint or varnish—critical for full refinishing.
Liquid gel strippers (for vertical surfaces)
Bio-based, low-VOC formulas for indoor safety
Mineral spirits for small touch-ups
Test on hidden area for finish reaction.
Scrape gently after dwell time to avoid gouging wood.
Neutralize surface post-strip with mineral spirits.
Cracks, holes, gouges—all need filling before sanding and finishing.
Water-based for stainable hardwoods
Epoxy filler for deep rotting or split repairs
Wood putty for quick, surface-level spots
Apply with putty knife, slightly overfill to allow sanding.
Match filler tone or stain to wood.
Seal filled spots before full finish.
Paint freshens up, stain highlights grain—both ensure pleasing final aesthetics.
Chalk paint for vintage pastel looks
Oil-based stain for depth and sheen
Milk or water-based paint for eco finishes
Pre-test colors on scrap wood.
Apply stain with cloth, wipe in direction of grain.
Follow paint with thin, even coats to avoid drips.
Provides lasting protection, sheen, and durability to furniture surfaces.
Water-based polyurethane (low odor)
Oil-based varnish (warmer tone, more durable)
Wipe-on poly for smooth finishing
Sand lightly with 320 grit between coats.
Min three coats for high-wear pieces
Finish in dust-free area to avoid blemishes
Quality brushes make finishes smoother, cleaner, and more professional.
Synthetic bristle for water-based products
Natural bristle for oil-based varnishes
Foam brushes for smooth edges
Clean brushes with proper solvents after each coat
Store bristles upright to prevent bending
Keep small artist brushes for crevices and details
Disassembly/assembly often required for deep restoration—tightening loose joints and screws essential.
Phillips and flat heads in multiple sizes
Square drive (Robertson) for vintage hardware
Screws, nails, and spare knobs in small compartment
Label screws and parts using small jars or plastic bags
Use magnetic bit driver to prevent drops
Loosen screws gradually to avoid wood cracking
Sawdust, chemicals, and fumes pose health risks—gear keeps you safe.
N95 dust mask or respirator for sanding
Nitrile gloves for solvent protection
Safety goggles and ear protection
Work in well-ventilated space
Follow product label precautions
Regularly wash and inspect gear
Essential for gluing joints, holding repairs, or stabilizing wood during sanding.
Bar clamps for tabletops
C-clamps for tight spots
Spring clamps for quick holds
Use pads to avoid clamp marks
Measure width of project first to match clamp capacity
Tighten gradually for even pressure
Speeds up large-surface sanding, especially on broad tabletops and drawers.
Orbital sander (fine finish friendly)
Belt sander (coarse removal)
Detail/sheet sander for tight corners
Sand with the grain to prevent scratches
Keep tool moving to avoid dips
Empty dust bag frequently to maintain effectiveness
Photograph piece before dismantling
Remove hardware using screwdriver set
Organize screws/handles in labeled containers
Apply paint stripper; remove old finish with scraper
Start sanding with 80 grit; work up to 220
Use electric sander on broad surfaces; detail sand by hand
Locate knots, cracks, gouges—fill with wood filler
Allow drying; sand filled spots flush
Clamp joints while glue dries for structural integrity
Prime bare wood for uniform paint base
Apply stain to enhance wood grain, wipe excess
Paint chalk or latex; preserve details with multiple coats
Sand lightly before sealing
Apply first coat varnish + drying
Sand between coats; apply at least 3 for durability
Reinstall hardware; consider upgrading knobs
Clean surfaces; buff with soft cloth
Add felt pads to legs and polish surfaces
Avoid aggressive chemicals on delicate woods
Use shellac barrier for resinous pine
Adjust sandpaper choices for burr-prone lumber
Water-based finishes, low-VOC varnish
Reclaimed wood filling, upcycled drawer pulls
Avoid overstripping veneer—sand edges carefully
Shrinking filler causing dips—refill & sand repeats
Bubble varnish—mix slowly to avoid entrapped air
Keep acrylic mats under decorative items
Wipe surfaces weekly with microfiber cloth
Q: Can I skip paint stripper and just sand?
You can, but it takes much longer—paint stripper saves time, especially on thick finish layers.
Q: Which sanding grit should I end on?
Always finish with 220 grit—this gives a smooth base for stain or varnish.
Q: How do I match filler to wood?
Try stainable filler and test on scrap; or mix sawdust from your piece into clear filler for a perfect match.
Restoring vintage furniture is deeply satisfying—reviving classic styles while preserving craftsmanship. With sandpaper, paint stripper, wood filler, paint/stain, varnish/polyurethane, quality brushes, reliable screwdrivers, essential protective gear, handy clamps, and a powerful electric sander, you’re fully equipped to bring vintage pieces back to life.
This guide helps you step through the process methodically, from disassembly to final touches—ensuring durability, beauty, and a renewed legacy for each restored treasure. Happy refinishing!
#sandpaper #restorationtools #furniturerestoration #paintstripper #restoration #tools #woodfiller #repair #restorationessentials #paint #stain #furnituremakeover #varnish #polyurethane #furnitureprotection #brushes #paintingtools #restorationgear #screwdrivers #furniturefix #protectivegear #safety #clamps #furnitureprojects #electricsander #powertools