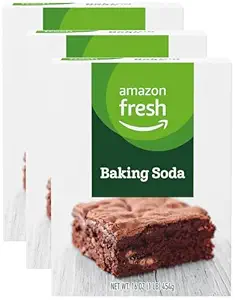
Baking Soda
The key ingredient that reacts with vinegar to create an eruption.
Buy OnCreate an exciting baking soda volcano with these must-have ingredients and tools.
Top 10 Things to Have When Making a Baking Soda Volcano Read more →
The key ingredient that reacts with vinegar to create an eruption.
Buy On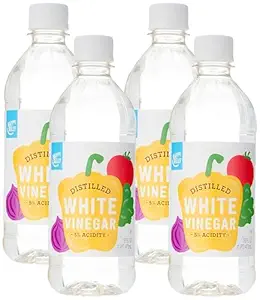
When mixed with baking soda, it creates a foamy volcanic eruption.
Buy On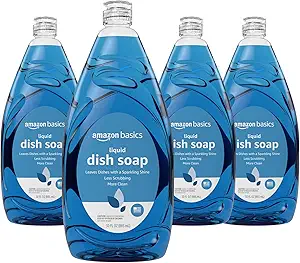
Helps create a bigger and longer-lasting eruption.
Buy On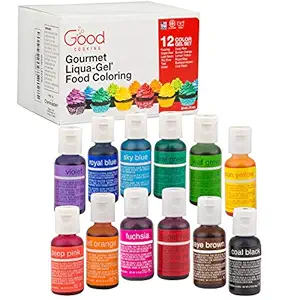
Adds a vibrant lava-like effect to the eruption.
Buy On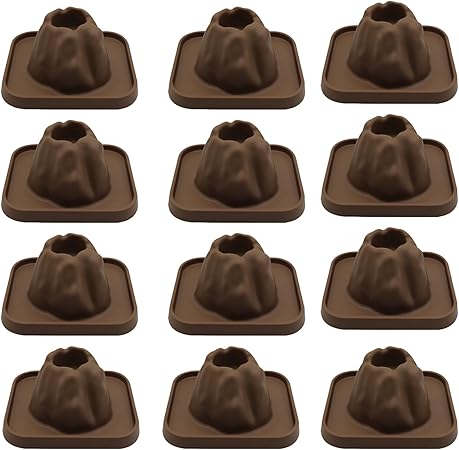
A paper-mâché or clay mold to shape the volcano.
Buy On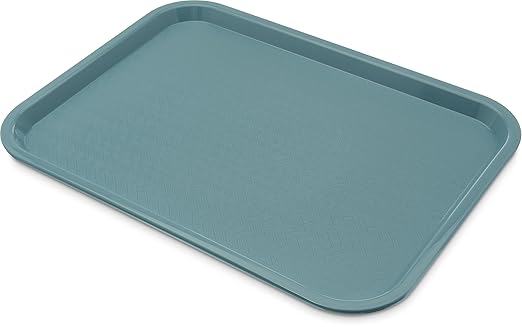
Catches any overflow and prevents messes.
Buy On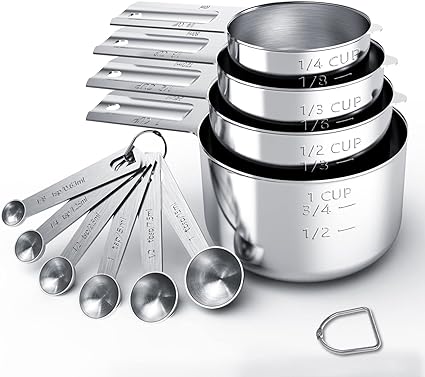
Helps accurately measure ingredients for the best eruption.
Buy On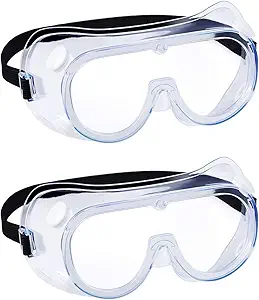
Keeps eyes safe during the experiment, especially for kids.
Buy On
Holds the baking soda and vinegar inside the volcano.
Buy On
Helps clean up any spills after the eruption.
Buy OnFew science experiments capture kids’ imaginations quite like the classic baking soda volcano. It's colorful, messy, fizzy fun—and it’s also a great way to explore basic chemical reactions. Whether you're preparing for a school project, a rainy day indoor activity, or a themed science party, having the right tools and ingredients will make the experience not only educational but also unforgettable.
In this blog post, we'll explore the Top 10 Things to Have When Making a Baking Soda Volcano, complete with helpful tips and clever ways to get the most out of your eruption. We’ve also sprinkled in lots of juicy tags for visibility—perfect for science-loving parents, teachers, and creative kids.
#bakingsoda #volcanoeruption #DIYvolcano #foamyeruption
At the heart of this dazzling science project lies the humble kitchen staple—baking soda, also known as sodium bicarbonate. This white powder is the base ingredient that reacts with vinegar to produce the iconic foamy eruption. It’s inexpensive, safe, and found in almost every household.
Tip: Use heaping tablespoons of baking soda for more powerful eruptions. You can also mix in a little extra to prolong the fizz. For multiple eruptions, keep extra baking soda handy in a small bowl nearby.
Fun Fact: Baking soda reacts with acids like vinegar to release carbon dioxide gas—it's the same principle behind many natural volcanic eruptions involving gas build-up underground!
#vinegar #scienceexperiment #STEMactivity #volcanoingredients
Vinegar is the secret agent that turns your dormant model volcano into a bubbling spectacle. Its acetic acid reacts explosively with the baking soda, creating that fun fizzing effect.
You can use any vinegar, but white vinegar works best for dramatic results and visibility when you add food coloring. Pour it in slowly for a gradual eruption or all at once for a sudden blast.
Tip: To intensify the reaction, warm the vinegar slightly before adding it.
#dishsoap #foamyeruption #sciencecraft #sciencefun
Want your volcano to erupt with thick, frothy lava? A few drops of dish soap added to the vinegar will trap the gas bubbles, creating a long-lasting, foamy effect that mimics real volcanic eruptions.
Bonus: Dish soap helps slow down the reaction, allowing you to enjoy the eruption for longer. It also makes the cleanup easier, as it helps lift the food coloring from surfaces.
Pro Tip: Try using colored dish soap to add even more visual interest!
#foodcoloring #colorfulvolcano #lavaeffect #sciencecraft
A vibrant eruption is always more fun! With just a few drops of food coloring, your volcano can come to life with realistic lava reds, fiery oranges, or even cool alien greens. This is a great opportunity to let kids personalize their experiment.
Creative Tip: Mix different food colors to mimic real lava flow, or use blue and purple for an "icy" or "space" volcano.
#volcanomodel #DIYvolcano #scienceproject #sciencecraft
The volcano itself is more than a prop—it’s the visual anchor of the entire experiment. You can go as simple or elaborate as you want:
Use papier-mâché around a plastic bottle
Build a cone out of playdough or modeling clay
Mold a cardboard volcano with a hole in the top
Use a store-bought volcano science kit
Make sure your structure is sturdy and tall enough to hold the cup or bottle that contains the reaction. Decorate it with painted lava trails or mini plastic dinosaurs to spark imagination.
Safety Note: Avoid using metal containers or anything with sharp edges.
#experimentcontainer #messfree #cleanup #volcanoproject
The eruption will overflow—guaranteed. That’s why a tray or large plate underneath your volcano is essential. It catches the foamy mess, making cleanup faster and protecting your furniture or table.
Popular tray options:
Baking sheets with raised edges
Plastic serving trays
Large disposable plates
Craft station mats
For outdoor setups, you might even use a plastic kiddie pool!
Tip: If you're indoors, place old newspapers or a plastic tablecloth beneath the tray for double protection.
#measuringtools #scienceaccuracy #DIYscience #STEMactivity
To turn this experiment into a true learning activity, bring out your measuring cups and spoons. Measuring the right amounts of baking soda, vinegar, and dish soap reinforces basic math and introduces scientific consistency.
Make it a challenge! Let kids test different amounts and compare eruption results. Ask questions like:
What happens when we double the vinegar?
What if we add less baking soda?
Turn playtime into a data-driven mini lab.
#protectivegoggles #safetyfirst #scienceprotection #experimentgear
Science should be safe and fun. Protective goggles add a layer of safety, especially if kids are pouring ingredients or hovering close to the eruption. Vinegar can sting eyes, and food coloring can splatter unpredictably.
Plus, kids feel like real scientists wearing them—making the experience even more immersive.
Parent Tip: If you don’t have goggles, oversized sunglasses or a clear face shield can work in a pinch.
#plasticcup #experimentcontainer #DIYvolcano #scienceexperiment
The actual chemical reaction will take place inside a plastic cup or small bottle inserted into your volcano structure. The container should be:
Small enough to fit inside the volcano
Large enough to hold at least ½ cup of vinegar
You can reuse small soda bottles, yogurt drink bottles, or even make cups from cut plastic containers.
Pro Tip: If your volcano is large, try using multiple bottles for simultaneous eruptions—double the fun!
#towels #cleanup #messfree #cleanlearning
It wouldn’t be a science experiment without a little mess! Keep plenty of towels or paper towels nearby to quickly wipe up overflow, color splashes, or vinegar spills.
Optional: Have a bowl of warm, soapy water on hand for quick cleaning or for rinsing reusable tools.
Pro Tip: For easy cleanup, do the experiment on a waterproof tablecloth that can be rolled up and shaken outside.
#sciencefun #DIYexperiment #creativekids #hands-onlearning
Now that you’ve got all the essentials, here are a few ways to level up your baking soda volcano project:
Add glow-in-the-dark paint or tonic water under blacklight for a glowing effect.
Use white shaving cream instead of dish soap for a snowy, foaming mountain effect.
Set up two volcanoes and race to see which one erupts faster by varying ingredients.
Quiz kids on fun volcano facts while they prep their experiment—great for classroom engagement!
#learningactivity #hands-onlearning #sciencelearning
This classic experiment is more than just fun—it teaches core STEM concepts like:
Chemical Reactions – Acids and bases reacting
Gas Formation – Carbon dioxide bubbles
Measurement and Ratios – Adjusting amounts
Observation Skills – Watching and recording changes
Cause and Effect – Predicting what happens with each variable
Use a science notebook to record steps, observations, and “what if” hypotheses for added educational depth.
The baking soda volcano never goes out of style. With just a few everyday items and a touch of creativity, you can turn any kitchen table into a volcano lab. Whether you're a parent looking for a weekend activity, a teacher prepping a fun science lesson, or a homeschooler building a DIY curriculum, these top 10 essentials will make your volcano project erupt with success.
Get the ingredients, prep your volcano, and let the science explode!
✅ Baking Soda
✅ Vinegar
✅ Dish Soap
✅ Food Coloring
✅ Volcano Structure
✅ Tray or Large Plate
✅ Measuring Tools
✅ Protective Goggles
✅ Plastic Cup or Bottle
✅ Towels or Paper Towels
#bakingsoda #scienceexperiment #volcanoeruption #STEMactivity #vinegar #sciencefun #DIYvolcano #learningactivity #dishsoap #foamyeruption #scienceproject #kidsscience #foodcoloring #lavaeffect #sciencecraft #colorfulvolcano #volcanomodel #DIYproject #hands-onlearning #messfree #volcanoproject #cleanlearning #measuringtools #scienceaccuracy #DIYscience #volcanoingredients #safetyfirst #scienceprotection #experimentgear #experimentcontainer #sciencelearning #DIYexperiment #cleanup #easyexperiment