Candle Wax
Choose from soy, beeswax, or paraffin wax for making your candles.
Buy OnMust-Have Items for Crafting Beautiful Homemade Candles
Top 10 Things to Have for DIY Candle Making Read more →
Choose from soy, beeswax, or paraffin wax for making your candles.
Buy On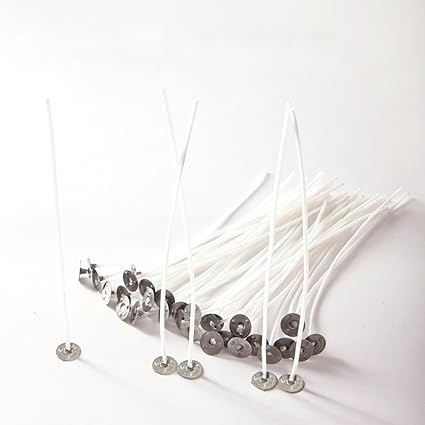
Cotton, wood, or hemp wicks are used to help your candles burn properly.
Buy On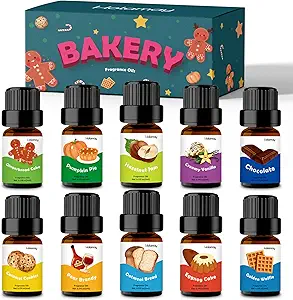
Add your favorite scents to personalize your candles.
Buy On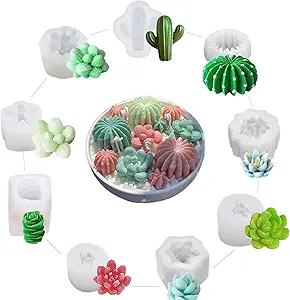
Molds allow you to create custom-shaped candles.
Buy On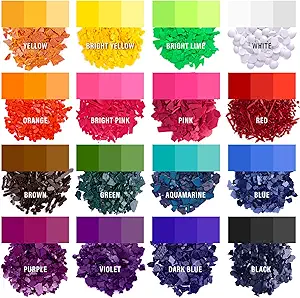
Add color to your candles with wax dye chips or liquid dyes.
Buy On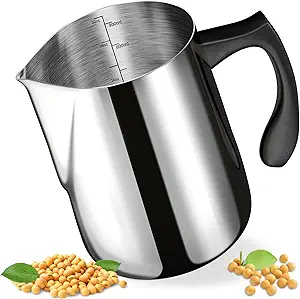
A heat-resistant pitcher is essential for pouring melted wax into molds.
Buy On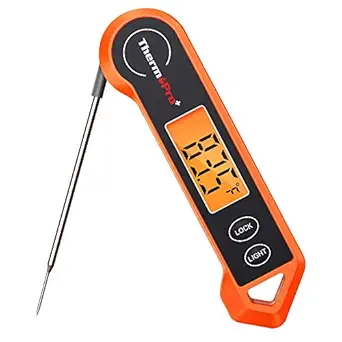
Use a thermometer to measure the wax temperature for proper pouring.
Buy On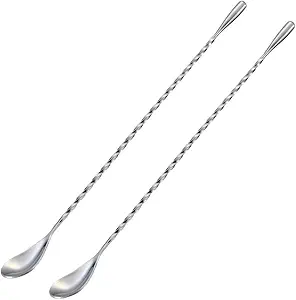
A stirring stick helps mix wax, dyes, and fragrances evenly.
Buy On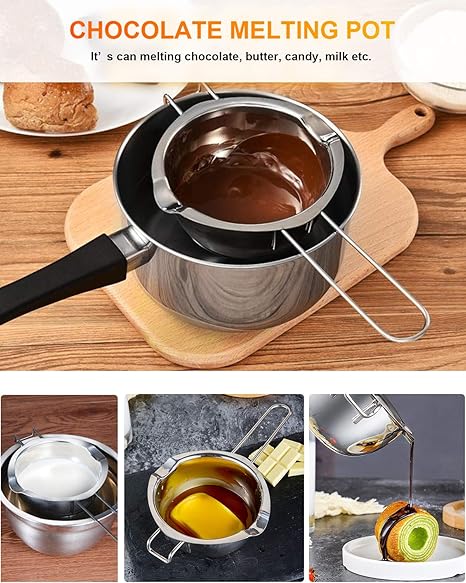
A double boiler helps melt the wax evenly without burning it.
Buy On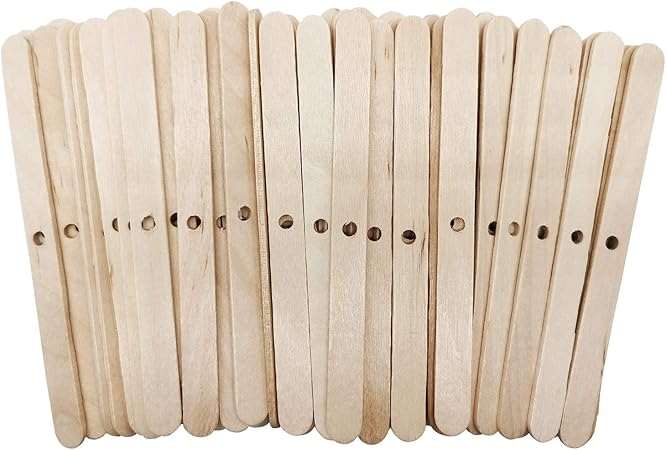
Use wick holders to center and stabilize the wick as the wax sets.
Buy OnMaking your own candles at home is one of the most satisfying and creative DIY projects you can do. Not only do you get to customize the colors, scents, and containers, but you also end up with beautiful, functional creations that make perfect gifts or cozy additions to your space. Whether you're new to candle crafting or looking to upgrade your setup, this guide will walk you through the Top 10 Things to Have for DIY Candle Making — all essential tools and materials that will elevate your home crafting experience.
Let’s dive into what you'll need to get started with your candle making journey!
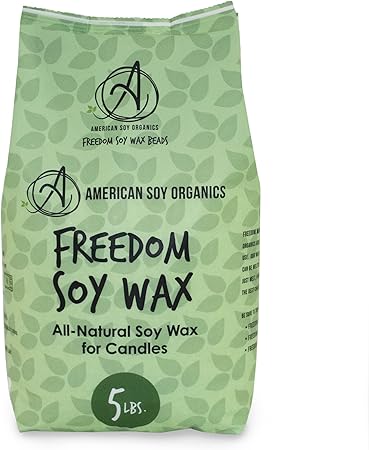
The most essential ingredient in any candle-making project is, of course, candle wax. There are several types of wax to choose from:
Soy Wax – Eco-friendly and great for beginners.
Paraffin Wax – Common and inexpensive, ideal for vivid colors and strong scents.
Beeswax – Natural, with a soft honey scent.
Coconut Wax – Premium, with excellent scent throw and clean burning.
Each wax type has different melting points and burn qualities, so experiment to see which one suits your style best. Be sure to buy high-quality wax for smooth, even burning.
#candlewax #DIYcandles #wax #candlemaking
Your candles won’t burn without candle wicks, making them another non-negotiable item. Wicks come in different materials (cotton, wood, hemp) and sizes, which should match the diameter of your container.
Some tips:
Cotton wicks are the most versatile.
Wood wicks crackle and are ideal for rustic or modern looks.
Use pre-tabbed wicks for convenience.
The size of the wick impacts the flame height and melt pool. Choose carefully to avoid tunneling or soot.
#candlewicks #candlemaking #candlecraft
One of the best parts of DIY candle making is choosing your own scents using fragrance oils. These oils are specifically made for candles and are designed to disperse well in melted wax. From soothing lavender and vanilla to energizing citrus or festive holiday blends, the choices are endless.
Pro tips:
Use about 1 oz of fragrance per 1 lb of wax (check your wax’s guidelines).
Mix thoroughly when the wax reaches the right temperature (usually around 185°F).
Avoid essential oils not made for candle use, as they can burn off too quickly or be unsafe.
#fragranceoils #scentedcandles #candlemakingtools
Want to go beyond jars and glass containers? Candle molds allow you to create shaped, freestanding candles. You can choose from silicone, aluminum, or polycarbonate molds in all kinds of shapes — hearts, stars, pillars, geometric designs, and more.
Why use molds?
Adds variety to your collection.
Great for making gifts or themed candles.
Ensure your molds are heat-safe and durable. Silicone is especially beginner-friendly due to its flexibility and easy release.
#candlemolds #molds #candlecraft #DIYcandles
To bring your candles to life visually, you’ll need dye chips or liquid dye. These additives are designed to safely color wax without affecting the burn quality.
Types of dye:
Dye Chips – Easy to measure and come in solid form.
Liquid Dyes – More customizable and vibrant.
Blocks – For deep, saturated colors.
Never use food coloring or crayon shavings, as they can clog wicks or release harmful fumes.
#candlecoloring #dyedcandles #candlemaking #craftsupplies
A pouring pitcher makes it easy and safe to transfer your melted wax into containers or molds. Most are made of aluminum and have a heat-resistant handle. Some even come with double pour spouts for left- and right-handed use.
Why it matters:
Precision pouring = less mess.
Helps maintain temperature during transfer.
Essential for layering multiple colors.
Choose a pitcher with at least a 2-pound capacity if you're making larger batches.
#pouringpitcher #candlemakingtools #craftsupplies
Wax temperature is critical when it comes to adding fragrance oils, pouring, and ensuring safe melting. A thermometer — especially a digital or candy thermometer — allows you to monitor the temperature with accuracy.
General temp guidelines:
Melt wax to 170–185°F.
Add fragrance oil around 185°F.
Pour around 135–145°F, depending on the wax.
Too hot, and the fragrance burns off. Too cold, and you’ll get air bubbles or surface issues.
#thermometer #meltingwax #candlemaking
Don’t overlook this basic but essential item — a stirring utensil. You’ll need one to mix in your fragrance and color evenly. Use heat-resistant options like:
Wooden chopsticks
Silicone spatulas
Stainless steel spoons
Dedicated stirring sticks also reduce contamination from food oils or other residues.
Tip: Stir gently but thoroughly for at least 2 minutes to ensure your fragrance oil binds properly.
#stirringstick #candlemakingtools #DIYcandles
Wax should never be melted directly on the stovetop. Instead, use a double boiler to gently and safely melt your wax. This method ensures even heat distribution and reduces the risk of overheating or fire.
If you don’t have a double boiler:
Use a metal bowl or pouring pitcher placed over a pot of simmering water.
Never leave melting wax unattended.
Investing in a proper double boiler setup is safer and more efficient for frequent candle makers.
#doubleboiler #meltingwax #candlemakingtools
Keeping your wick centered while the wax sets is a challenge without wick holders. These simple but effective tools come in various forms:
Wooden sticks with holes
Metal bars
Plastic clips
Benefits:
Prevents leaning wicks.
Ensures even burning.
Saves you from post-pour fixes.
You can also use clothespins or chopsticks with a rubber band in a pinch!
#wickholders #candlecraft #candlemaking
Once you’ve gathered these top 10 essentials, you're well on your way to creating beautiful, high-quality candles at home. Here are a few more helpful tips:
Always use a heat-safe surface.
Work in a well-ventilated area.
Keep a fire extinguisher nearby.
Test burn each new candle formula.
Keep a log of wax type, fragrance load, wick size, and burn time.
Add dried flowers (make sure they’re candle-safe).
Use glass paint on jars.
Mix and match scents to create custom blends.
Keeping your tools and ingredients in order saves time and hassle. Use labeled bins, storage carts, or drawer dividers for:
Wax blocks
Fragrance oils
Dyes
Tools and utensils
Molds and containers
Clean your tools right after use to extend their lifespan and maintain candle quality.
DIY candle making is more than just a craft — it’s a way to relax, personalize your home, and even build a small business. With the right tools and materials, the process becomes enjoyable, creative, and fulfilling.
From selecting the perfect candle wax and fragrance oils to pouring your mixture using a pouring pitcher and keeping your wick centered with wick holders, every piece plays an essential role. As you continue exploring this aromatic hobby, you’ll discover new techniques, creative mold ideas, and scent combinations that reflect your personal style.
So stock up your craft corner, light a handmade candle, and let the inspiration flow!
#candlewax
#DIYcandles
#wax
#candlemaking
#candlewicks
#fragranceoils
#scentedcandles
#candlemolds
#candlecraft
#molds
#candlecoloring
#dyedcandles
#pouringpitcher
#craftsupplies
#thermometer
#candlemakingtools
#stirringstick
#doubleboiler
#meltingwax
#wickholders